 Radbin
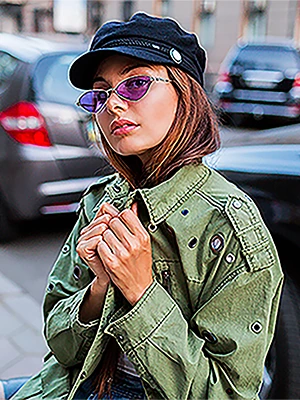
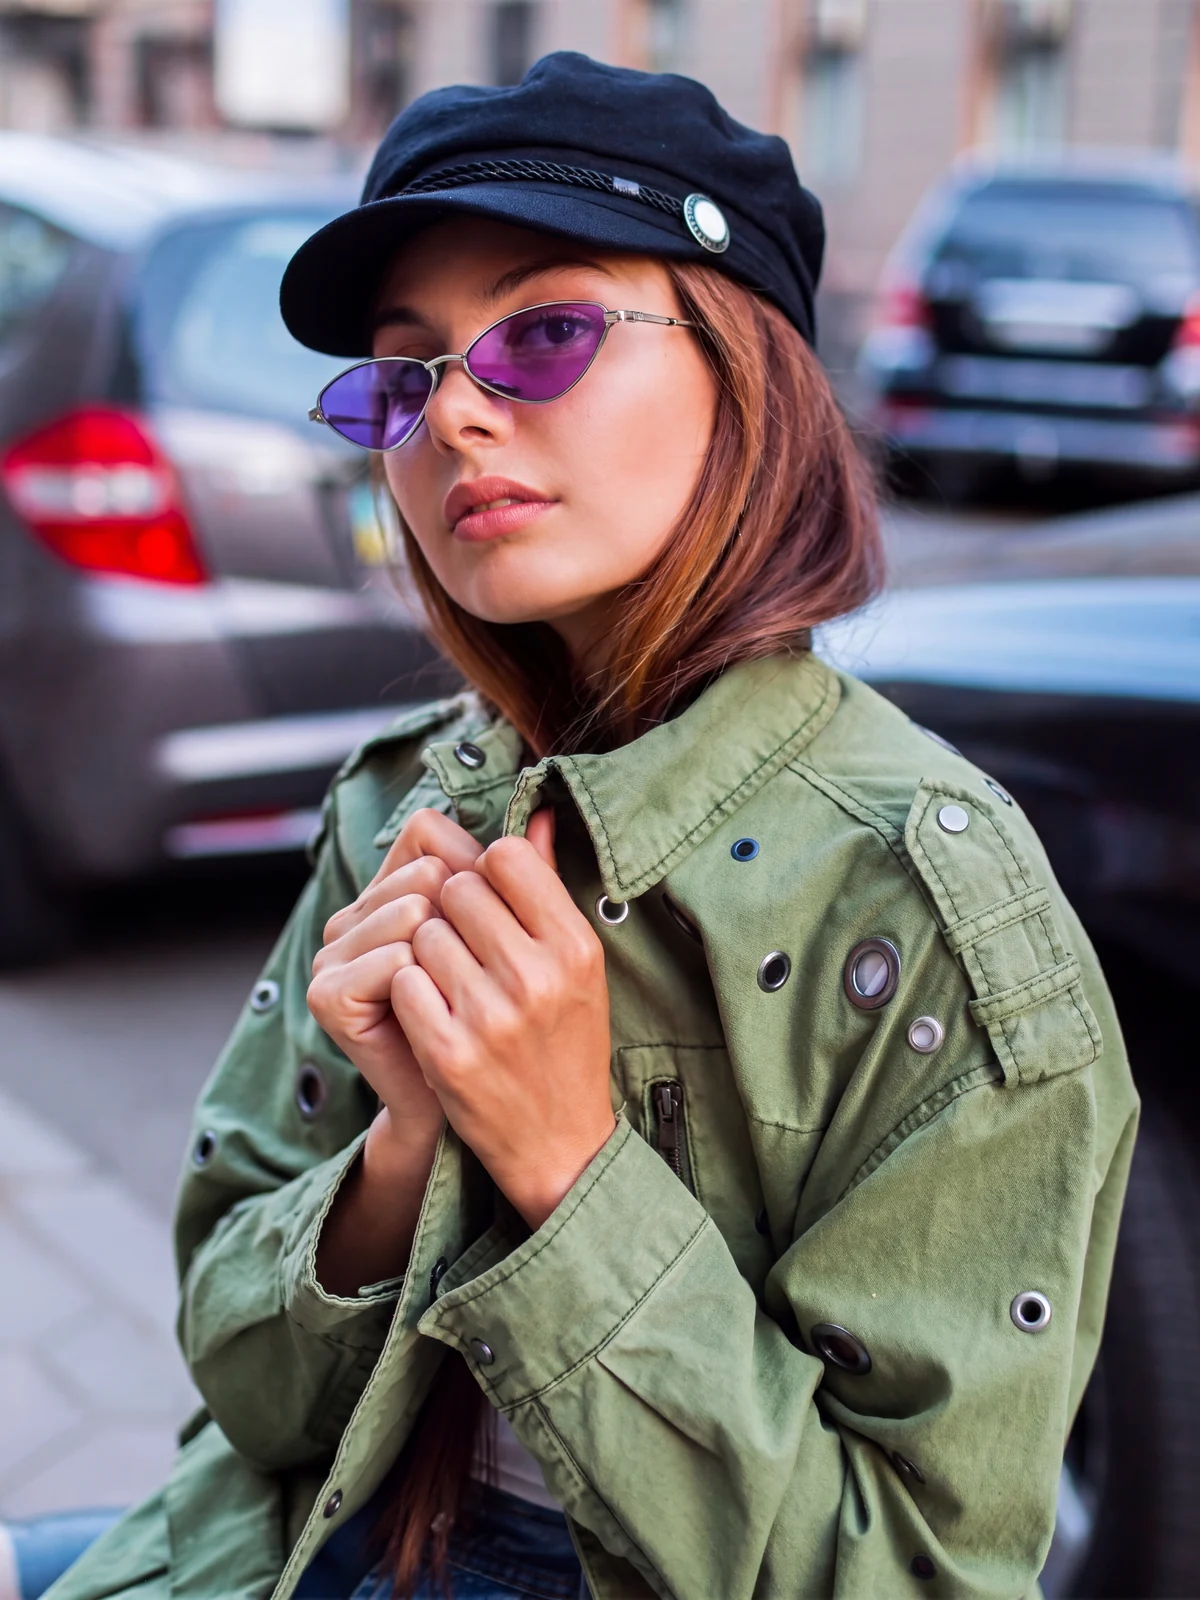 Before4K
Original: her own street, rebuilt in 4K with her. Drag the handle.
This is the how-to. The Studio portrait page has the four examples and what it costs, and the tutorial walks through each one.
Where to find it
In the Radbin panel, on the Enhance tab, under Photo. It works in Photoshop 23.3 or newer, on a Mac or a Windows PC. Every portrait costs 7 credits.
1. Select the person
Make a selection around the person, or select nothing to use the whole photo.
2. Background
Pick one of seven:
| Background | What you get |
|---|---|
| Original | The photo's own background, kept and rebuilt in 4K with the person. In the row it is a picture, not a colour |
| Black | Plain, seamless, pure black. The default |
| White | Plain, seamless, pure white, evenly lit |
| Gray | A dark gray gradient: lighter behind the person, charcoal toward the edges |
| Blue | A deep blue gradient: muted blue in the middle, navy at the edges |
| Green | A deep green gradient: sage in the middle, forest green at the edges |
| Brown | A warm brown gradient: light brown in the middle, dark chocolate at the edges |
In Radbin 1.2.3 and newer, the row shows each background as a square of its colour, and the name of the one you picked sits next to the row's title. Older versions show the names.
A colour stays on the backdrop, so skin does not turn blue or green. The light on the person follows the new background: in the street portrait of the video (4:09), the sunlight in her hair stayed on black and went away on white.
3. Document: Resize to match or Keep size
- Resize to match, the default, grows your whole document to fit the 4K result, in the same undo step.
- Keep size leaves the document as it was. The 4K result is placed as a smart object scaled to fit, and the smart object keeps every 4K pixel, so you can enlarge the document later with Image → Image Size and the portrait stays sharp.
4. Apply
Click Apply. It reads the photo for a few seconds, then builds the portrait. The result lands as a new layer named after the background, for example Studio portrait · White, above your original, which stays untouched.
The settings in the video, from 0:30.
Getting the best result
- Compare the face with the original. Studio portrait is built to keep the face, the expression and the pose, but the less there is to go on, the more it has to rebuild. On a tiny or blurred face, check the eyes and the mouth.
- Not sure about the size? Use Keep size. The 4K pixels are in the smart object either way.
- A sharp photo works too. Then it is a quick way to put a portrait on clean white or black.
- Not a portrait? Use Upscale: Pruna enlarges any photo up to ten times without inventing detail.
- A torn or faded print? Run Restore photo first.
What it costs: 7 credits per portrait, at 4K, its only size. A failed job refunds itself. How credits work.