 Radbin
What you need: Photoshop 23.3 or newer on a Mac or a Windows PC, and the Radbin plugin. Studio portrait is on Radbin's Enhance tab, and each portrait costs 7 credits.
The whole tutorial on YouTube, 7 minutes. Each step below links to its moment in the video.
Why a normal upscale is not enough for a face
When you enlarge a small portrait with Image Size, Photoshop has to make up the pixels in between. On a face that means soft eyes, smeared skin and hair that turns into a blur, only bigger. Most AI upscalers do better, but on a really small face they still mostly enlarge what is there, and a face is the one thing everyone notices when it is wrong.
Studio portrait, the new tool in my Radbin plugin, works another way. It draws the portrait again at 4K, with real skin texture, hair and eyes, and it is built to keep the face, the expression and the pose as they were. Full disclosure: Radbin is mine, so judge the before and after shots for yourself.
Step 1: Open Studio portrait
Open the portrait in Photoshop. In the Radbin panel, go to the Enhance tab and choose Studio portrait. It always works at 4K, and each portrait costs 7 credits. Watch this step (0:30)
Step 2: Pick a background
The Background row has seven choices. The first, Original, keeps the photo's own background. Then black, white, and four soft gradients, gray, blue, green and brown, lighter behind the person and darker toward the edges, like a studio backdrop lit from behind. Black is picked at first. What each background does.
Step 3: Resize to match, or keep the size
Under Document, Resize to match grows your whole file to fit the 4K result. Keep size leaves the file as it was and places the result as a smart object scaled to fit. Keep size does not throw anything away: the smart object holds every 4K pixel, so you can enlarge the file later and it stays sharp. That is example 2.
Step 4: Select and apply
Select the person, or nothing to use the whole photo, and click Apply. It reads the photo for a few seconds, then builds the new portrait and places it as a layer named after the background, like Studio portrait · Black, above your original. Watch (1:00)
Example 1: a low res portrait that was cut out badly
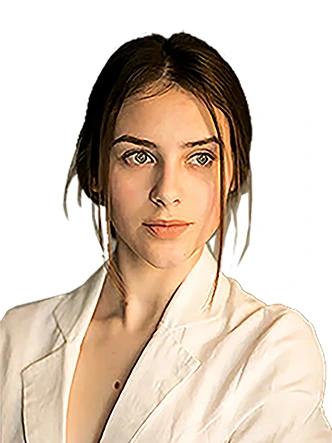
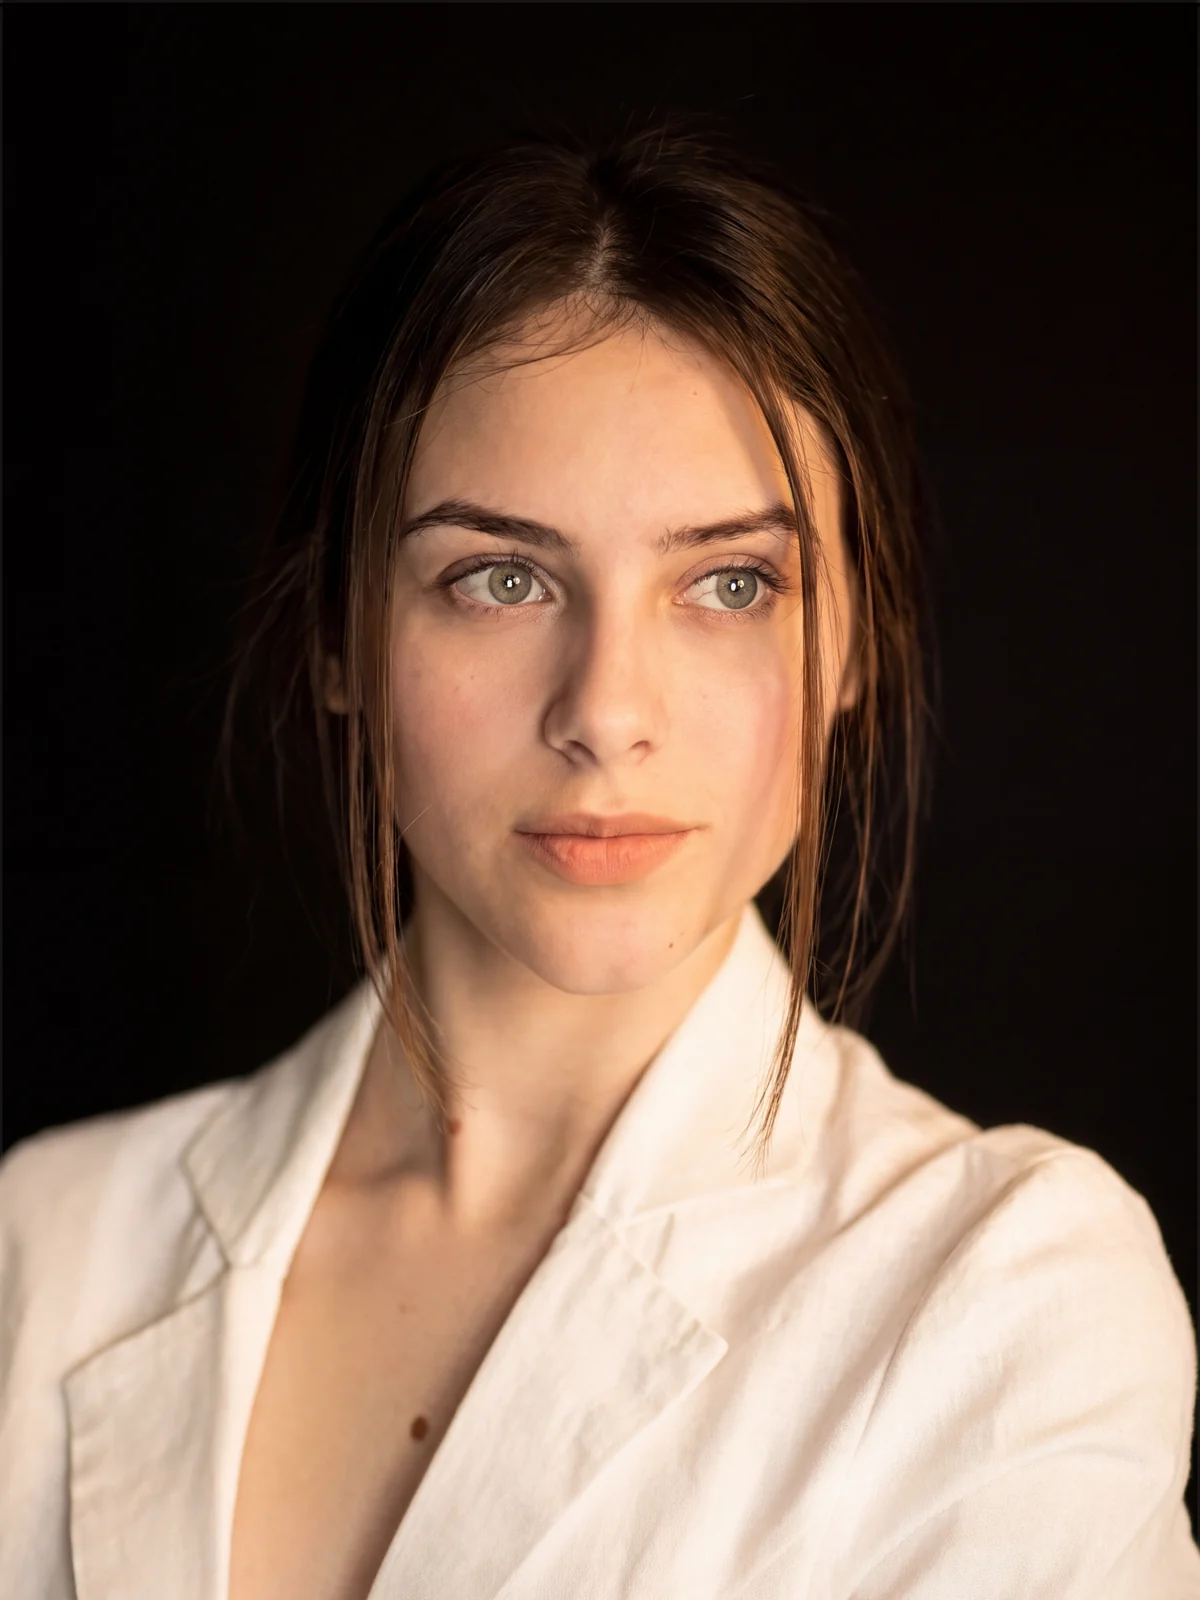
This one is 332 pixels wide, and someone had cut it out of its background with rough edges. It could be an old photo you always wanted to fix. I picked black and Resize to match.
 Before4K
From 332 pixels wide to 4K, on black. Drag the handle.
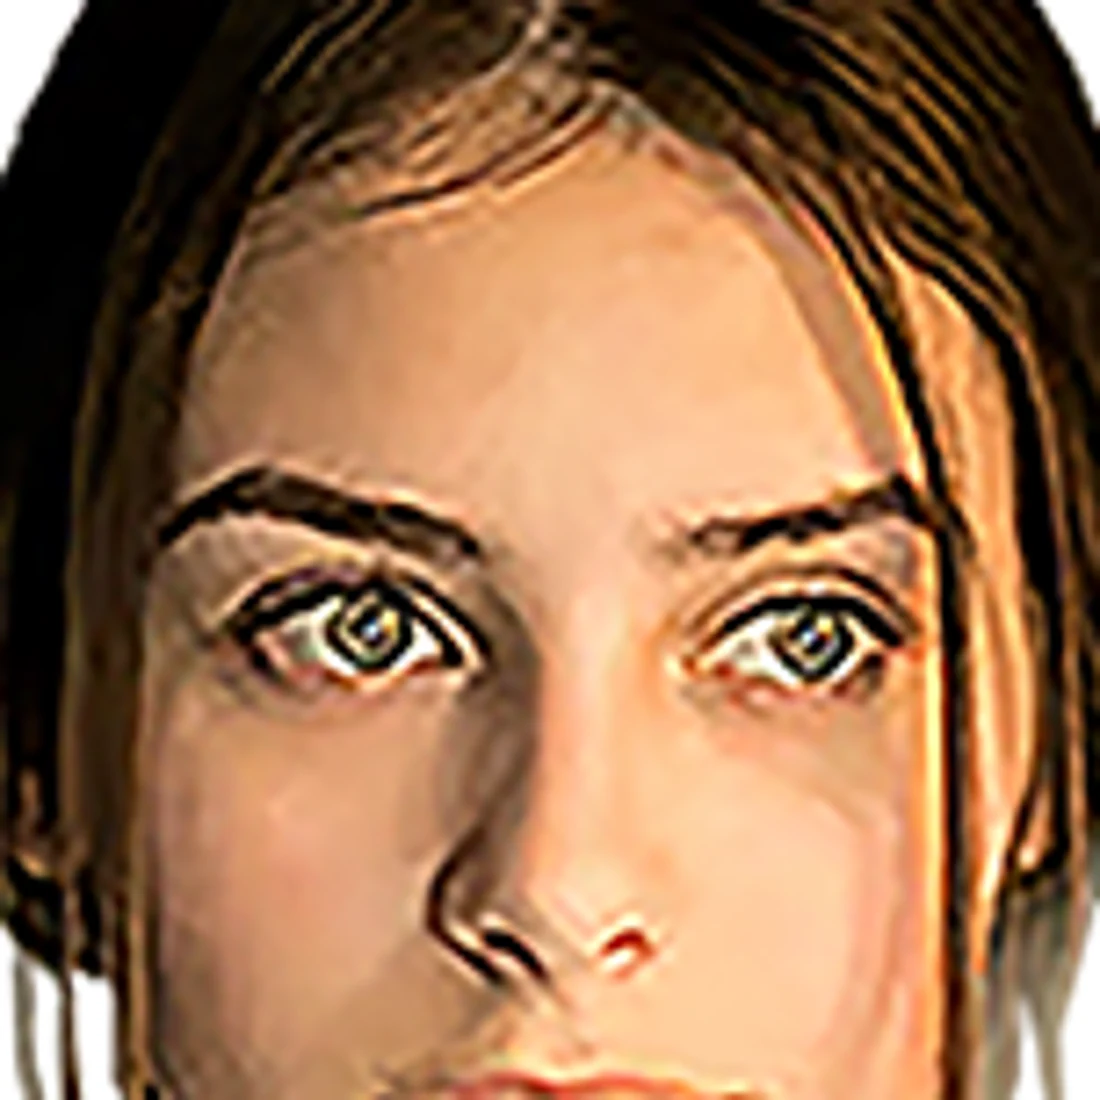
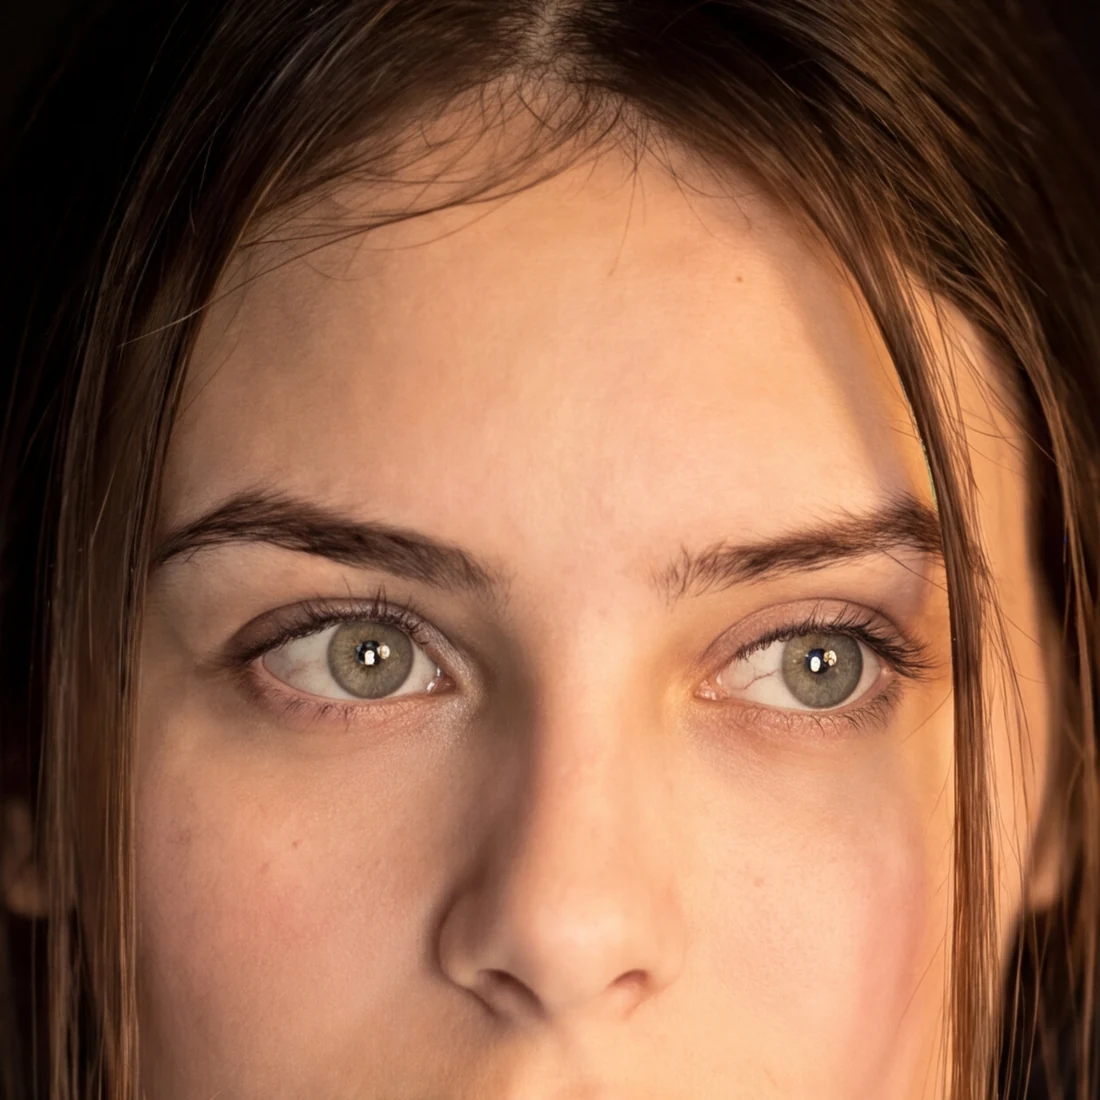
Look at the skin, the eyes and the hair. The texture is back, and so are the strands that had turned into a jagged edge. It even understood which parts of the original were out of focus and kept them soft, so it still looks like a photo taken through a real lens. Watch (1:46)
 Original, enlargedStudio portrait
Close up: the original enlarged to the same size, against the 4K result.
Example 2: keep the size, enlarge it later
This photo was not cut out. I used black again, but this time I chose Keep size, so the result came back at the size of the original file, on a smart object. Then I opened Image → Image Size and made the file bigger. Because the smart object holds the whole 4K result, the portrait stayed sharp. Watch (2:30)

 Before4K
An event photo, on black. Drag the handle.

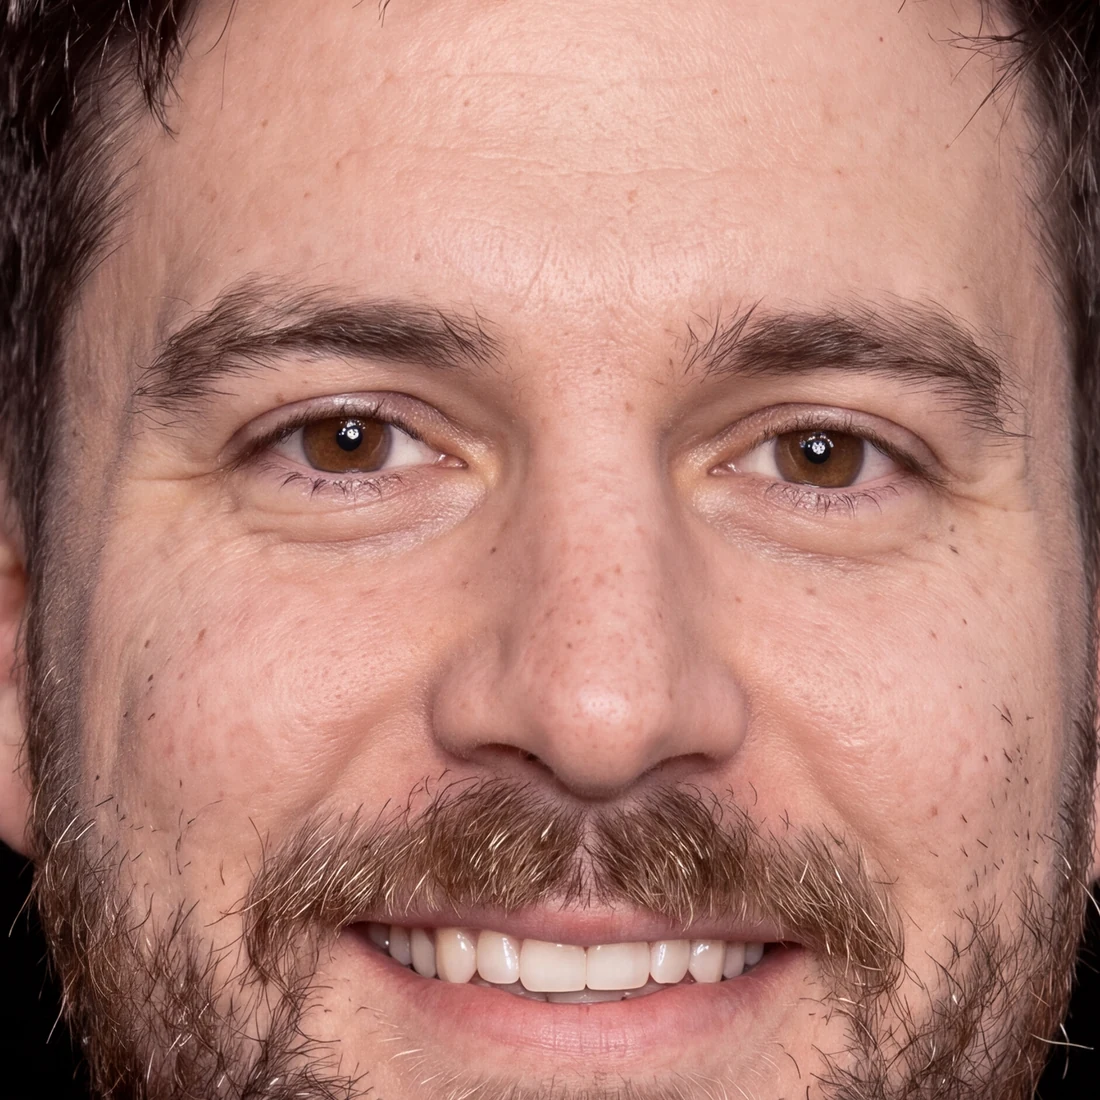 Original, enlargedStudio portrait
Close up: the skin and the beard, the original against 4K.
Example 3: a street portrait on six backgrounds
A woman in a street, in a small photo that had been sharpened so hard it looks painted. I ran it on every background to compare them. This is the white one.
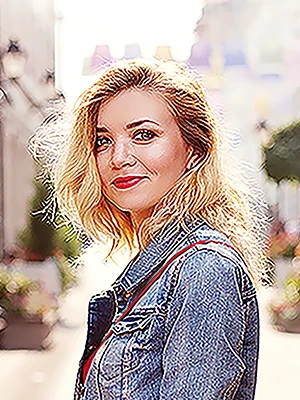
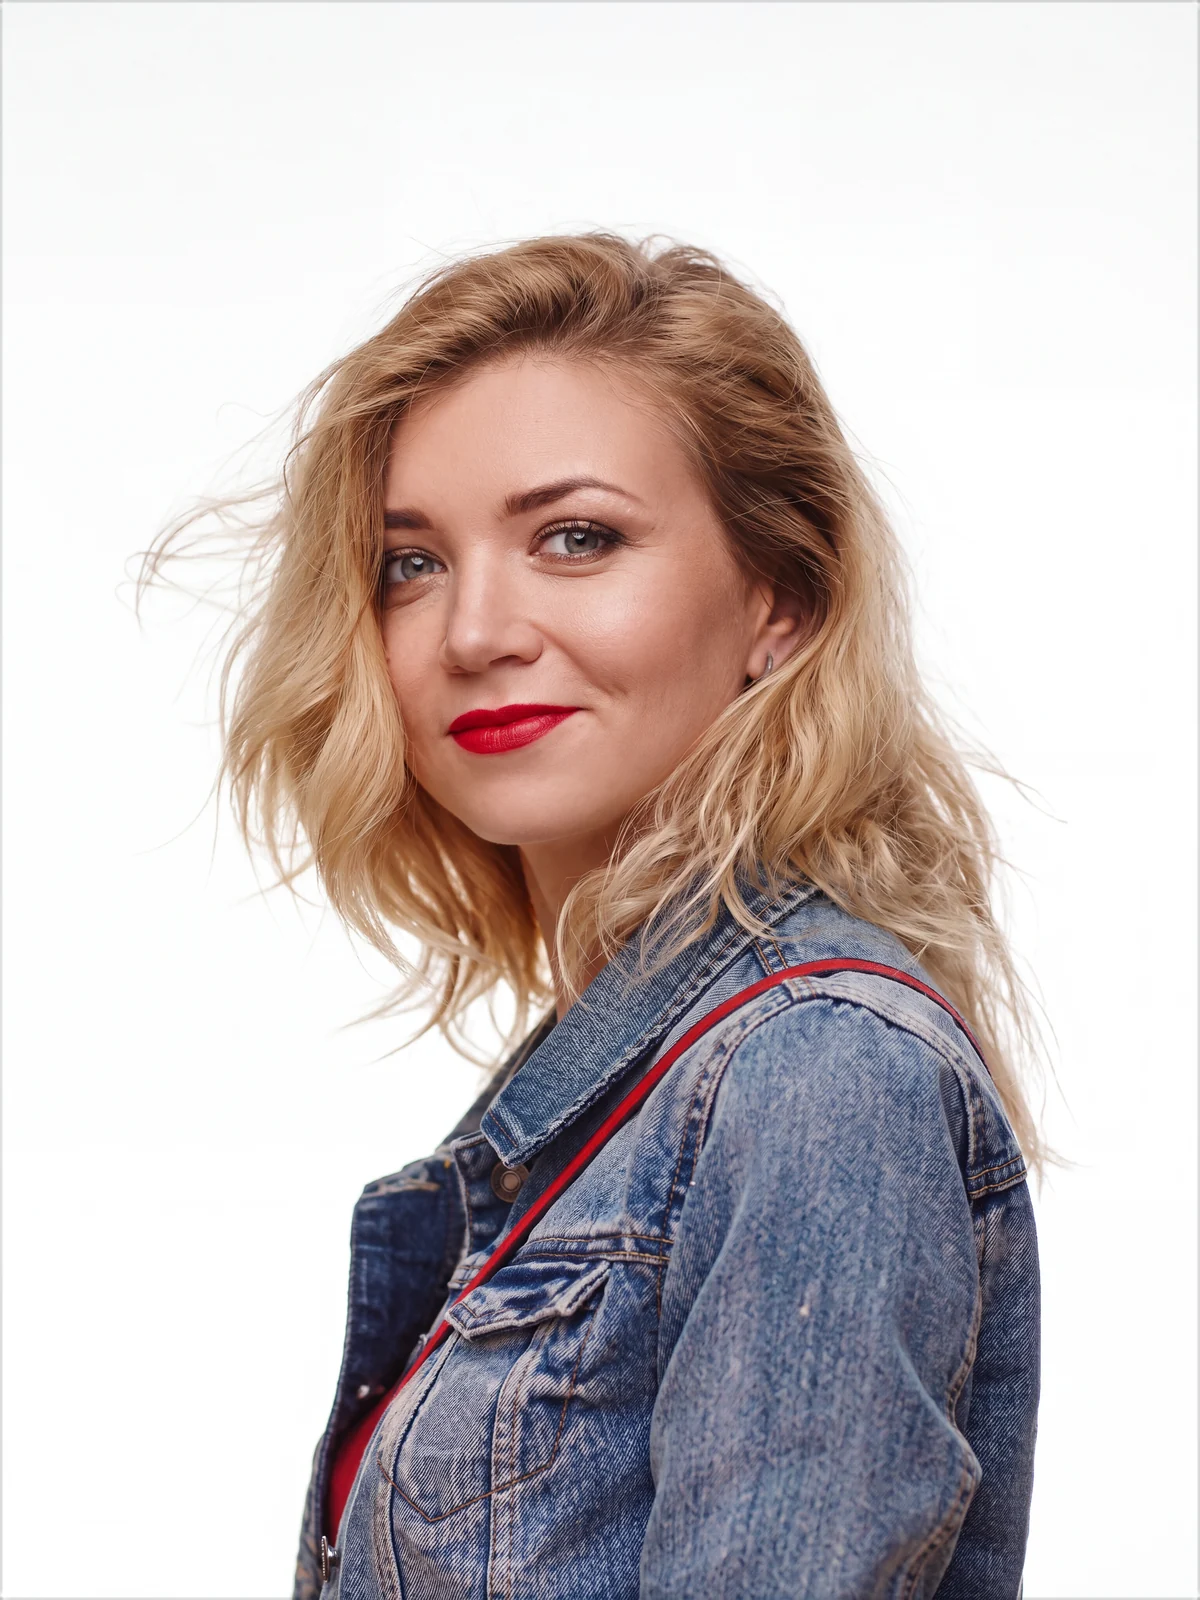 Before4K
On white. Drag the handle.
It also changes the light to fit the background. In the original, the sun comes from behind her and lights her hair. On white that glow is gone, but on black it kept it, because there it makes sense. See all six versions (4:09)
Example 4: keep the original background
Last, a small photo of a woman in a cap, by a row of parked cars. I tried every background, but I liked Original best: the same street and the same cars, rebuilt in 4K with her.

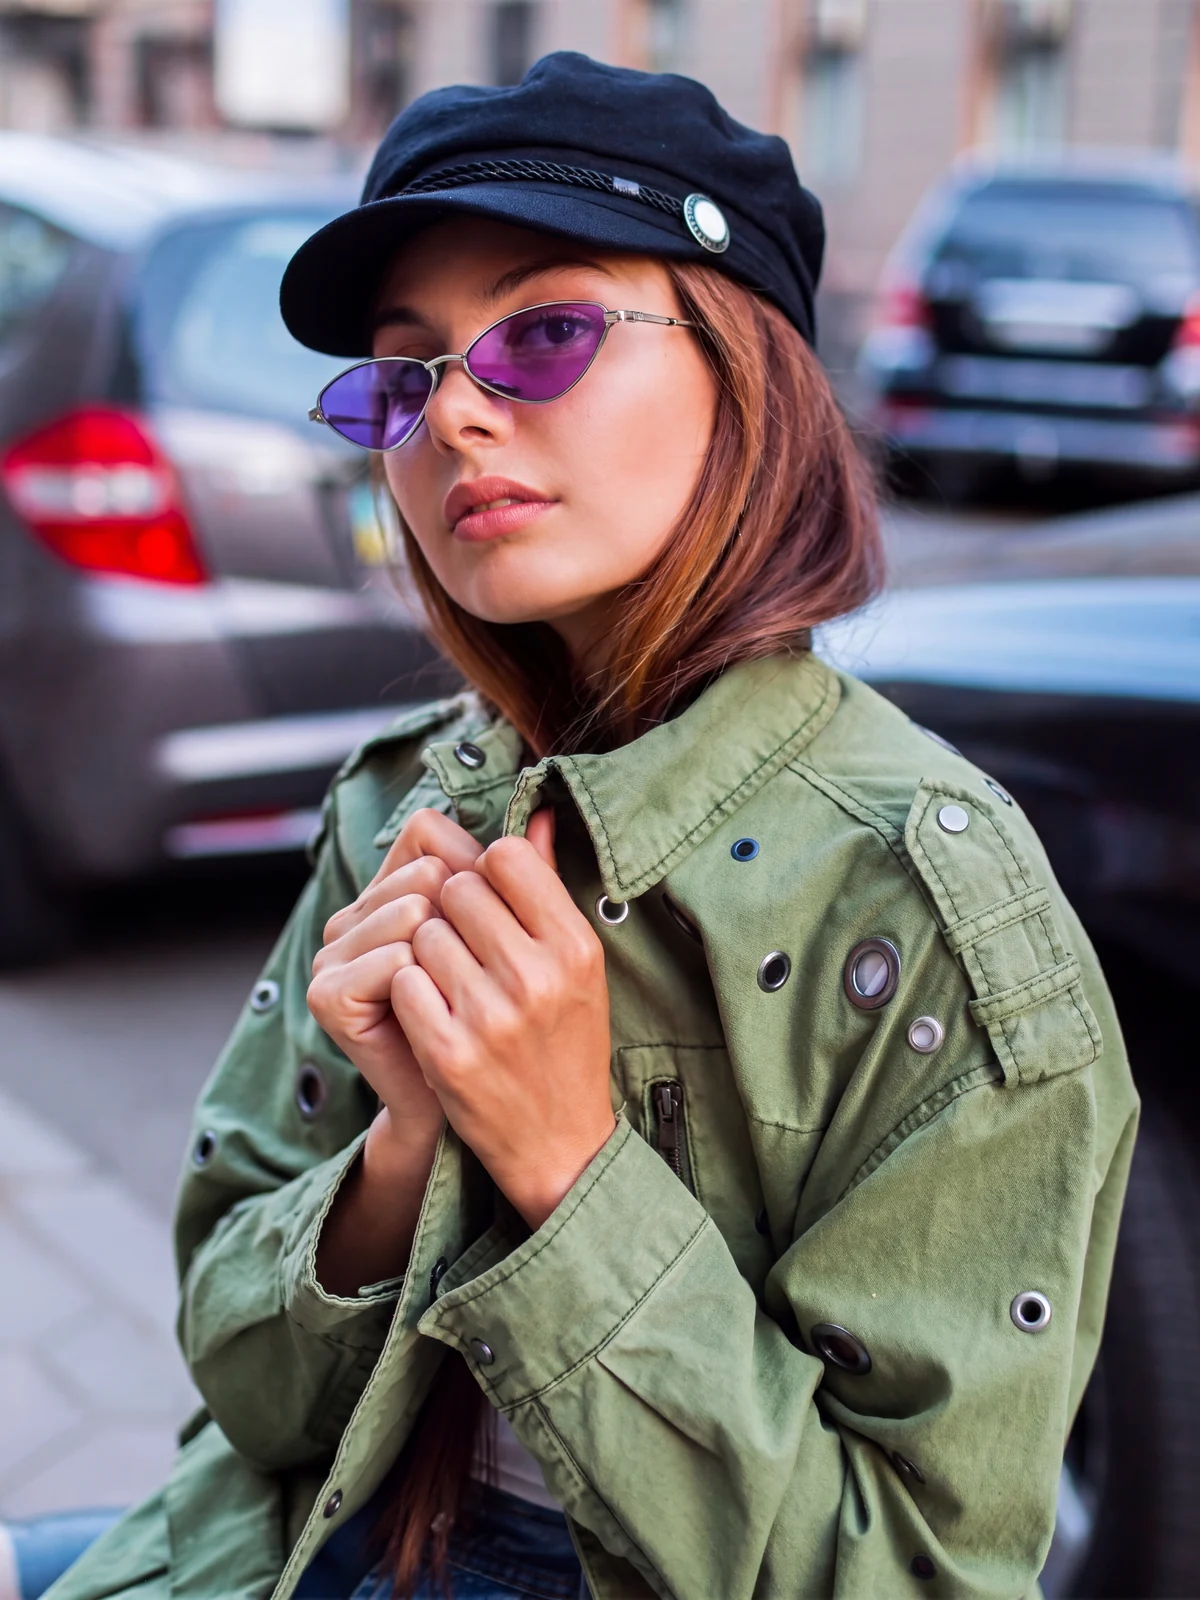 Before4K
Her own background, kept. Drag the handle.
Side by side with the original, it does not look generated. It looks like the photo was always this sharp. Watch (5:22)

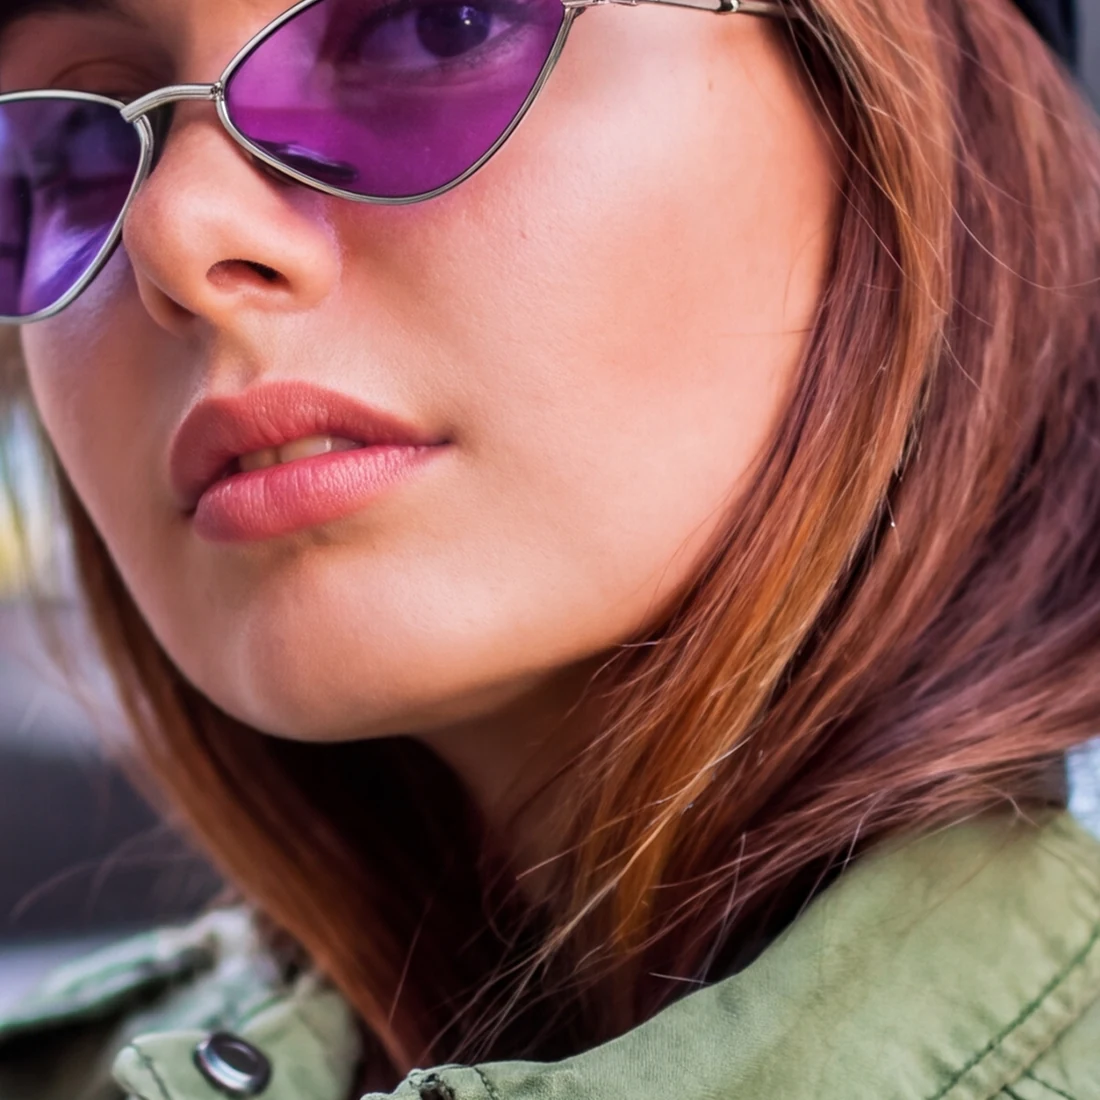 Original, enlargedStudio portrait
Close up: the face and the sunglasses, the original against 4K.
Tips for the best result
- Compare the face with the original. Studio portrait is built to keep the face, but the less there is to go on, the more it has to rebuild. On a tiny or blurred face, check the eyes and the mouth.
- Not sure about the size? Use Keep size. The 4K pixels are in the smart object either way.
- Not a portrait? Upscale enlarges any photo up to ten times, and its Pruna engine does it without inventing detail.
- A torn or faded print? Run Restore photo first.
Every setting is in the Studio portrait guide.
Rebuild your own portraits in 4K, inside Photoshop
Studio portrait is on Radbin's Enhance tab, next to 14 other tools and eleven image models. Each portrait costs 7 credits, and a failed job refunds itself.
Watch Radbin on YouTube
Real tests and tutorials, all inside Photoshop. See the whole channel.
 19:25Relight any photo in Photoshop with AI
 20:03Nano Banana 2.1 vs GPT Image 2 and FLUX 3: ten tests
 14:31Photoshop Relight vs Radbin Lightsmith
 10:24Retouch skin without losing the texture
 9:28Every Radbin tool in 9 minutes
 9:50Fix the focus of any photo after it was taken
 1:43Radbin changes only what you ask