 Radbin
The classic way: Select Subject and a fill
- Open the portrait and choose Select → Subject.
- Open Select → Select and Mask, paint along the hair with the Refine Edge Brush, and output to a new layer with a layer mask.
- Add a new layer under it and fill it with black or white (Edit → Fill). For a studio look, draw a radial gradient from a lighter gray in the middle to a darker one at the edges.
On a sharp photo with clean hair, this works well. On a small or blurry one it gets hard: the hair edge is soft, so the selection is soft, and the face stays as blurry as it was. And the light on the person still belongs to the old place, so a portrait shot in the sun looks pasted onto black.
The one-click way: Studio portrait
Studio portrait is a tool in my Radbin plugin for Photoshop. You pick a background and click Apply, and it draws the portrait again at 4K on that background, keeping the face, the expression and the pose. Radbin is mine, so judge the results below for yourself.
- Open the portrait. In the Radbin panel, go to Enhance → Studio portrait.
- Pick a background in the Background row.
- Select the person, or nothing for the whole photo, and click Apply. The result lands as a new layer named after the background.
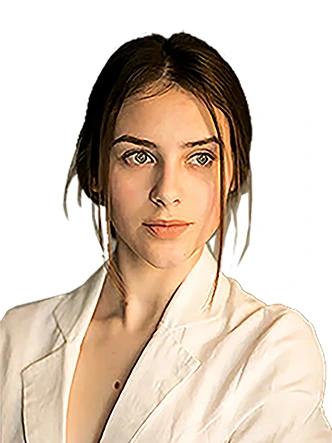
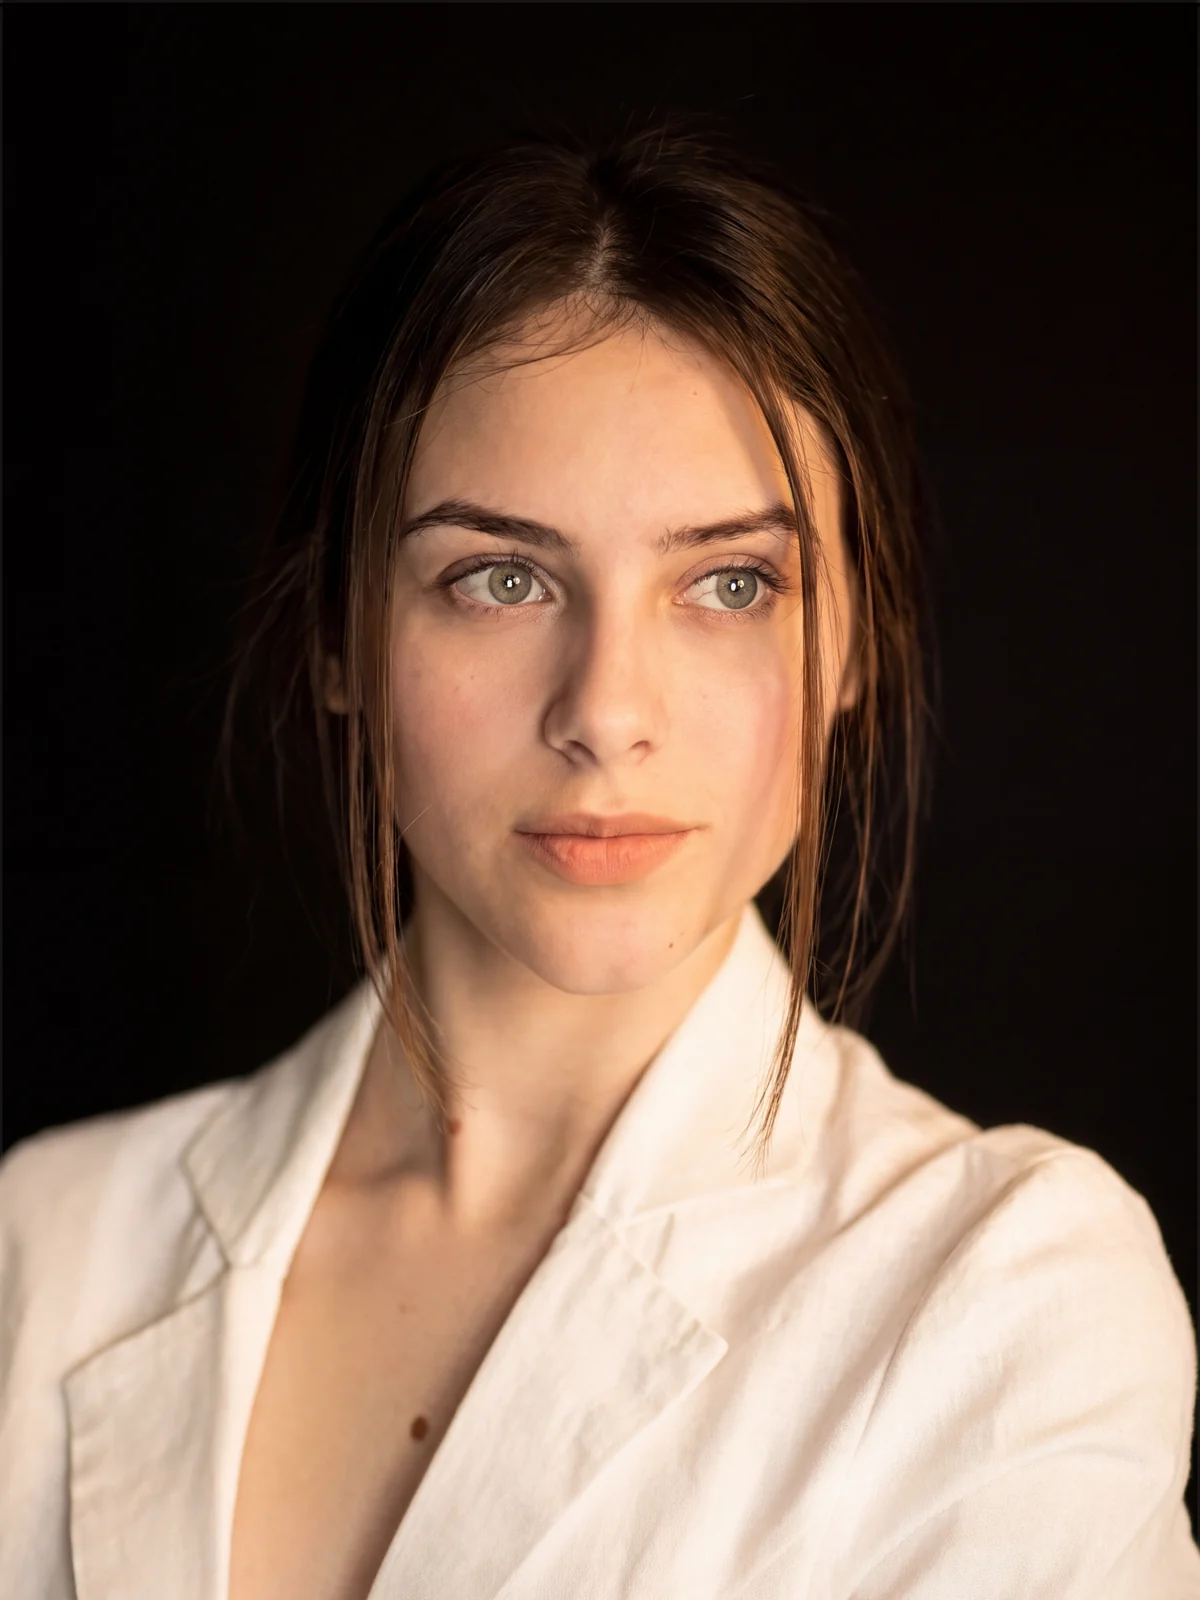 Before4K
A rough cut-out on white, rebuilt in 4K on black. Drag the handle.
The seven backgrounds
| Background | What you get |
|---|---|
| Original | The photo's own background, rebuilt in 4K with the person |
| Black | Plain, seamless, pure black. The default |
| White | Plain, seamless, pure white, evenly lit |
| Gray | A dark gray gradient: lighter behind the person, charcoal at the edges |
| Blue | A deep blue gradient, from muted blue in the middle to navy |
| Green | A deep green gradient, from sage in the middle to forest green |
| Brown | A warm brown gradient, from light brown in the middle to dark chocolate |
The gradients look like a backdrop lit from behind the person. The colour stays on the backdrop, so skin does not turn blue or green.
It lights the person for the new background
This is the part I like most. In this street portrait the sun comes from behind her and lights her hair. On white that rim of sunlight is gone; on black it kept it, because against a dark background that light makes sense. So the result looks shot on that background, not cut out and pasted onto it.
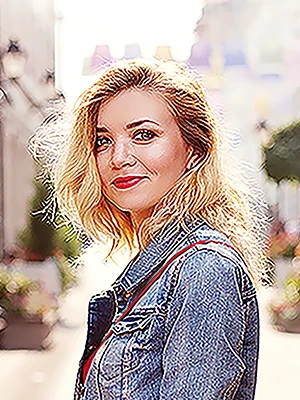
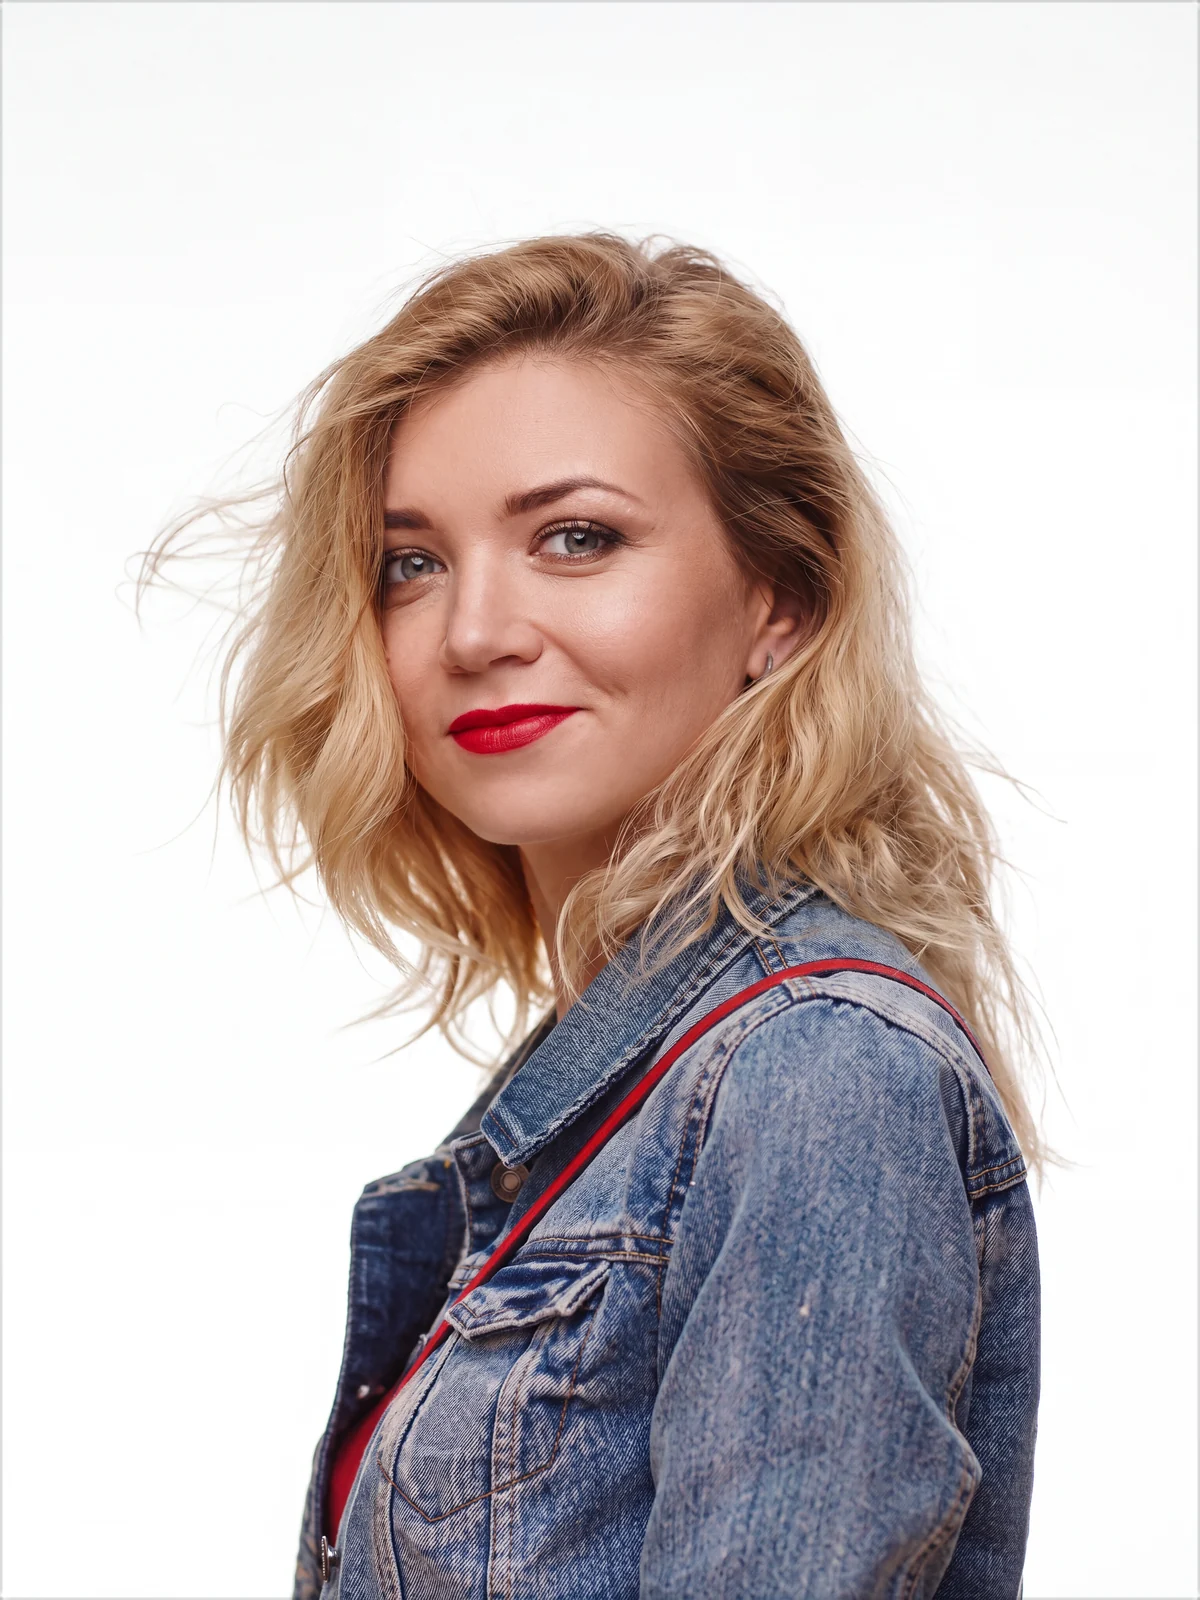 Before4K
The street portrait, on white. Drag the handle.
See the same portrait on all six backgrounds in the video (4:09).
A sharp photo works too
You do not need a low res photo. If your portrait is already sharp and you only want it on clean white or black, it is quicker than Select Subject and Select and Mask, and the hair comes back whole. It is a new picture, though, so keep the original next to it and compare the face.
Or keep the original background
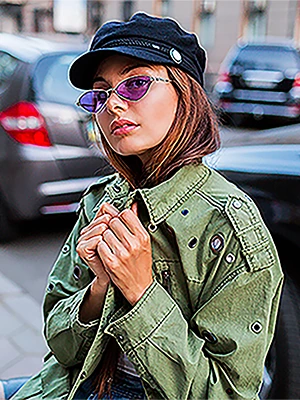
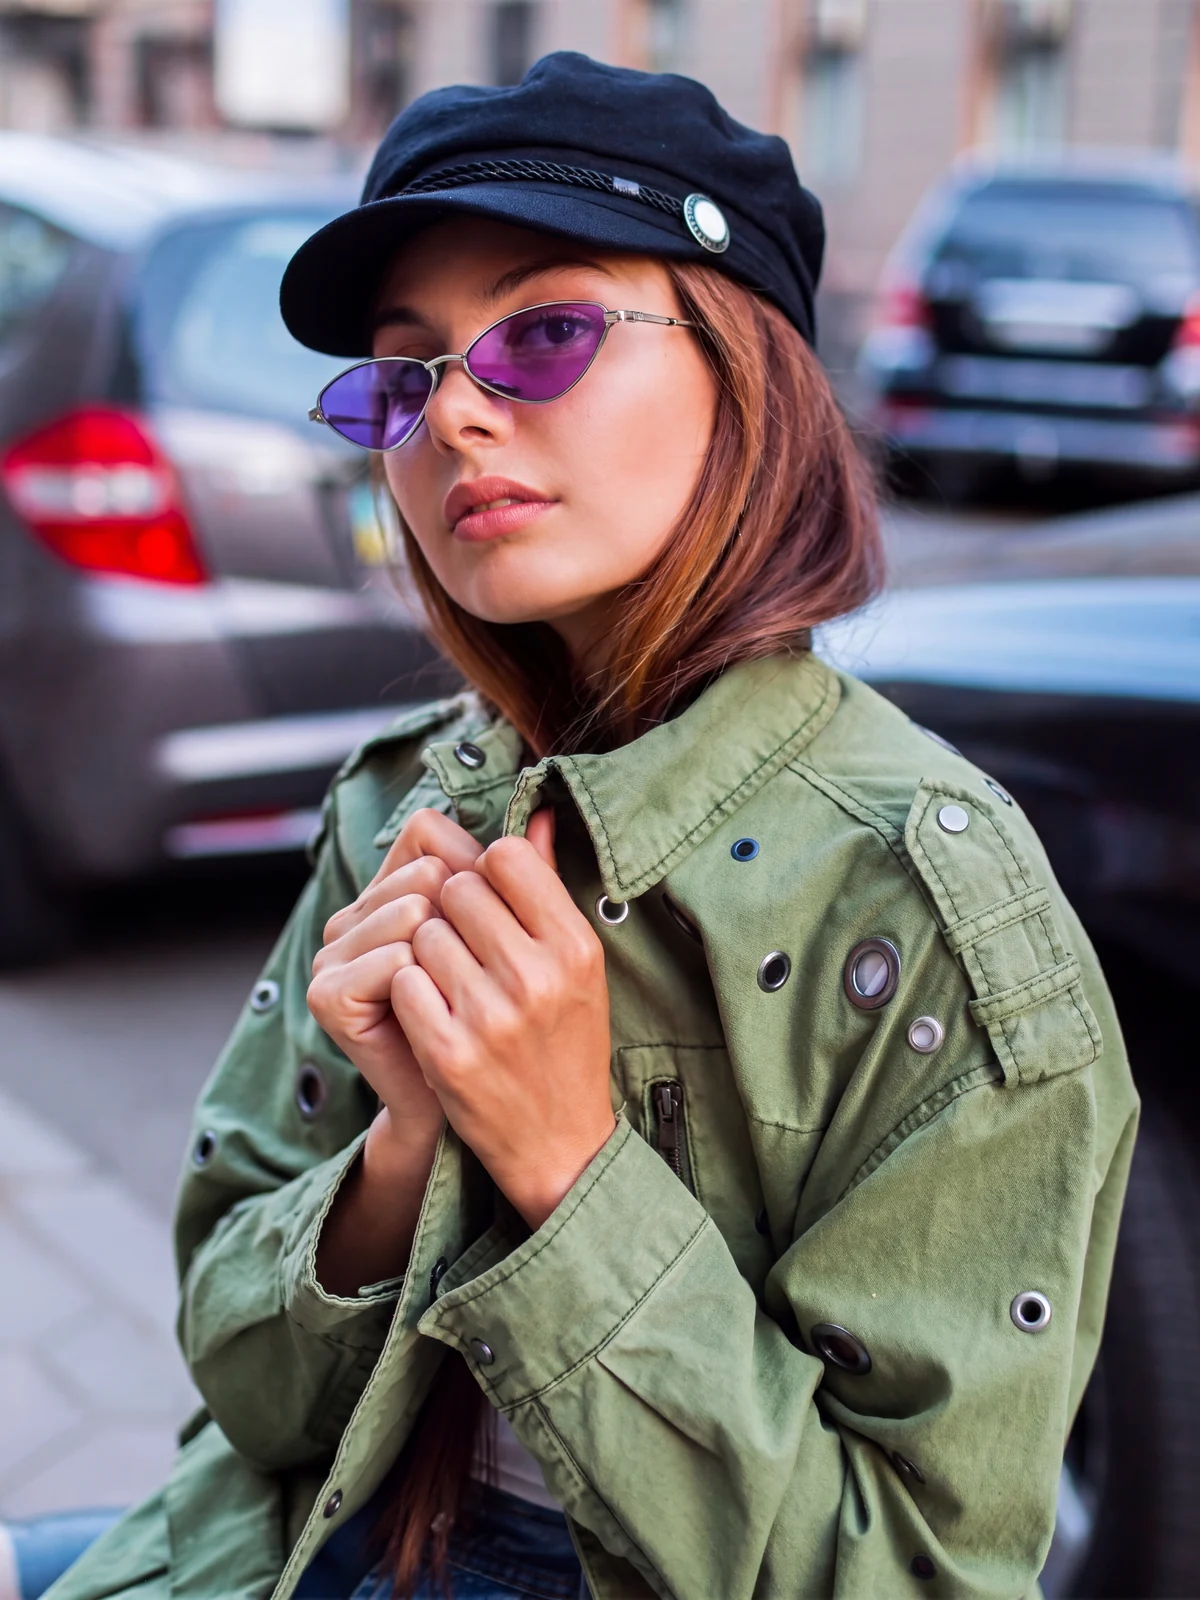
Original keeps the place and rebuilds the whole photo at 4K, for when the background matters.
 Before4K
Original: her own street, rebuilt in 4K. Drag the handle.
For the whole process, from a small photo to a 4K file, see the step by step tutorial.
Rebuild your own portraits in 4K, inside Photoshop
Studio portrait is on Radbin's Enhance tab, next to 14 other tools and eleven image models. Each portrait costs 7 credits, and a failed job refunds itself.
Watch Radbin on YouTube
Real tests and tutorials, all inside Photoshop. See the whole channel.
 19:25Relight any photo in Photoshop with AI
 20:03Nano Banana 2.1 vs GPT Image 2 and FLUX 3: ten tests
 14:31Photoshop Relight vs Radbin Lightsmith
 10:24Retouch skin without losing the texture
 9:28Every Radbin tool in 9 minutes
 9:50Fix the focus of any photo after it was taken
 1:43Radbin changes only what you ask