 Radbin
The short answer: separate what you remove from what you keep. Heal the temporary marks, like spots and scratches. Even out redness and blotchy tone without blurring the pores. And keep the permanent marks, like freckles and moles, unless the person asks you not to. Skin looks plastic when one blur does all three jobs at once.
Below are the six ways I use, from the free healing tools to frequency separation, and Cherry, the skin tool in my Radbin plugin. Full disclosure: Radbin is mine, so every result here is real and you can judge it yourself.
My skin retouching tutorial on YouTube, 10 minutes, with five examples.
What does keeping the texture mean?
Skin has two layers of information. One is the fine detail: pores, peach fuzz, tiny lines. The other is the colour and the light: redness, blotches, shine, the soft shadows that give a face its shape. Spots sit in both.
Every good method works on them separately. You take out the spots, you even the colour and the light, and you leave the fine detail alone. A blur over the whole face does the opposite: it smooths the colour, but it wipes out the pores too, and that's the plastic look.
1. The healing tools: Spot Healing Brush, Healing Brush and Patch
For a few spots on a good photo, these are still the fastest honest fix, and they're free.
- Add an empty layer above the photo, so every fix stays on its own layer.
- Take the Spot Healing Brush (J) and turn on Sample All Layers in the options bar.
- Make the brush a little bigger than the spot and click it once. Work spot by spot.
- Where it pulls in the wrong texture, switch to the Healing Brush: Option-click (Alt-click on Windows) clean skin nearby to set the source, then paint over the spot.
- For a larger patch, like a scar or a cluster, draw around it with the Patch tool and drag it onto clean skin.
They keep the texture because they borrow real skin from nearby. They don't fix redness or uneven tone, and on a face full of acne they take a long time.
2. Remove Blemishes in Camera Raw
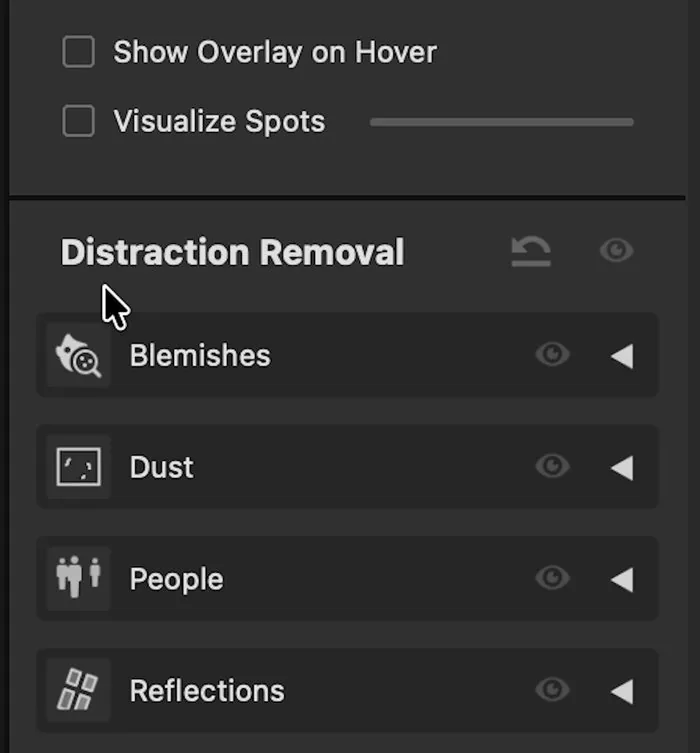
Camera Raw gained a Blemishes option in its Distraction Removal list with version 18.5, in August 2026. It finds the spots on one face or several by itself. Watch (17:29)
- Choose Filter › Camera Raw Filter, then the Remove tool on the right.
- Under Distraction Removal, choose Blemishes and click Apply.
- Set how much goes with the two sliders, one for blemishes and one for natural marks like small moles. At 100, they all go.
- Paint back any mark you want to keep with the Restore brush, take out one it missed with the Remove brush, and click OK.
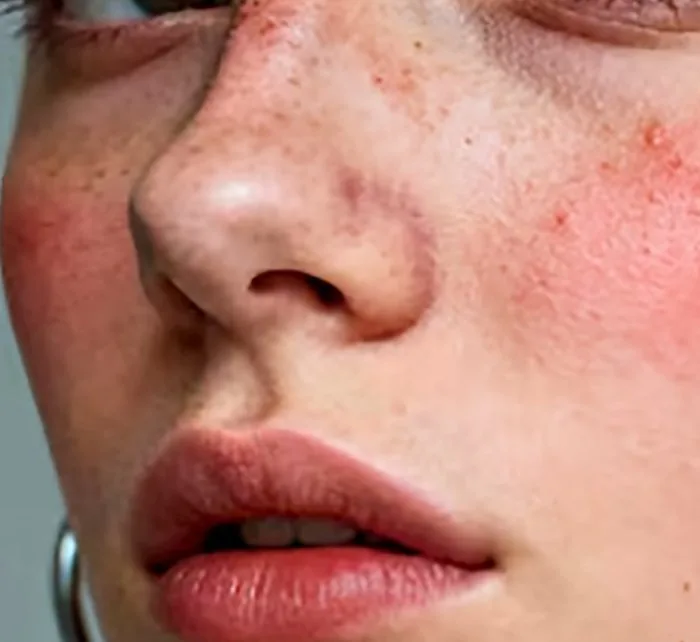
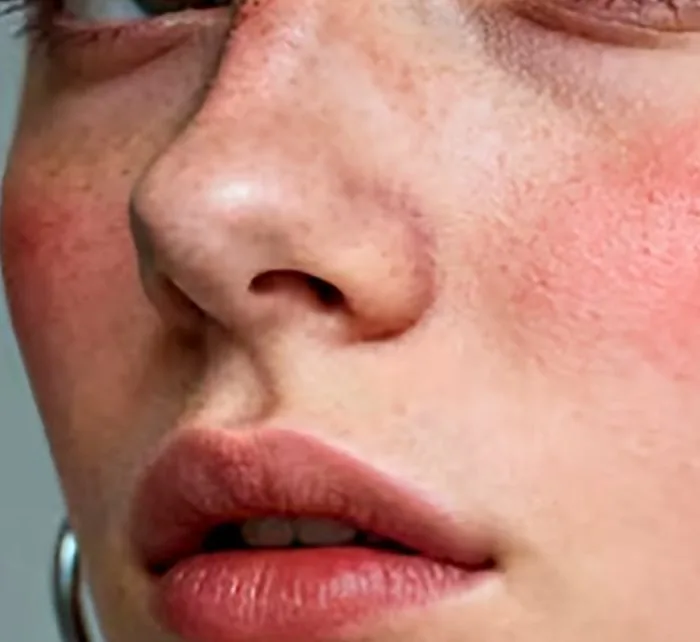
In my test the spots were gone and the texture stayed. The redness and the uneven tone stayed too, because that isn't what this tool is for. It used no generative credits. For a quick spot clean-up, it's the first thing I'd try.
3. Frequency separation
Frequency separation splits the photo into two layers: one with the fine texture, one with the colour and the light. You fix each without touching the other. This is Adobe's own recipe:
- Duplicate the photo twice. Name the top copy Texture and the one below it Colour.
- Hide the top layer. Blur the Colour layer with Filter › Blur › Gaussian Blur, just until the pores disappear (Adobe uses 5 pixels; a large file needs more).
- Select and show the Texture layer and choose Image › Apply Image. Pick the Colour layer as the source, with the settings below.
- Set the Texture layer's blend mode to Linear Light. The photo looks unchanged again: that means it worked.
- Now heal spots on the Texture layer (sample the Current Layer), and smooth blotches on the Colour layer with a soft brush or a lasso and a little blur.
| File | Blending | Invert | Scale | Offset |
|---|---|---|---|---|
| 8 bits per channel | Subtract | Off | 2 | 128 |
| 16 bits per channel | Add | On | 2 | 0 |
If the result turns flat gray, the Apply Image settings don't match your file's bit depth. It's the method most retouchers trust because nothing is guessed, but it's slow: record the setup as an action once and it costs a click. Adobe's own walkthrough is on its frequency separation page.
4. Dodge and burn
Most of what we call uneven skin is small light and dark patches. Dodge and burn evens them out by hand, and it never touches the texture.
- Add a new layer and set it to Soft Light.
- With a soft brush at a very low flow, paint white over the small dark patches and black over the small bright ones.
- Zoom out often. You're evening the light, not erasing it.
It gives the most natural result of all, and it's the slowest. Many retouchers do frequency separation for the spots and dodge and burn for the tone.
5. Neural Filters Skin Smoothing
Choose Filter › Neural Filters › Skin Smoothing, set Blur and Smoothness, and send the result to a new layer. It's quick and it's free. It's also a blur at heart: push it and the pores go with the spots, and Adobe notes that it works less well on body skin, behind glasses and at extreme angles. Keep it low, or mask it to the worst areas.
6. One click with AI: Cherry
Cherry is the skin tool in Radbin. You tell it what to fix and what to keep, and it does the whole skin in about a minute or two: spots, redness, uneven tone, shine, under-eyes, and the texture itself, which it rebuilds where a photo is too soft to have any. Watch (0:22)
- Select the face, or press Cmd+A (Ctrl+A on Windows) for the whole photo.
- In the Radbin panel, open Enhance › Cherry.
- Under Fix, tick what to clean: Blemishes, Even tone, Redness, Shine, Under-eye, Wrinkles (softened, not removed), Stray hairs, Skin texture.
- Under Keep, tick what must stay: Freckles & moles, Scars.
- Pick a strength: Natural, Portrait or Beauty. Then the size, 1K, 2K or 4K, for 3, 5 or 7 credits, and click Apply.
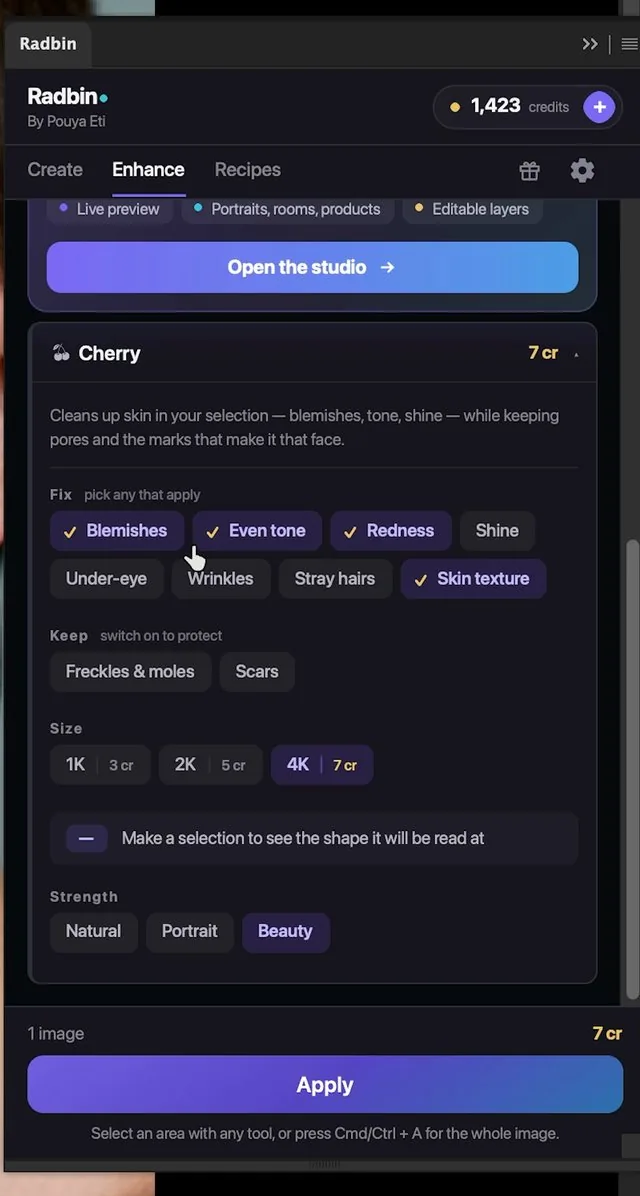
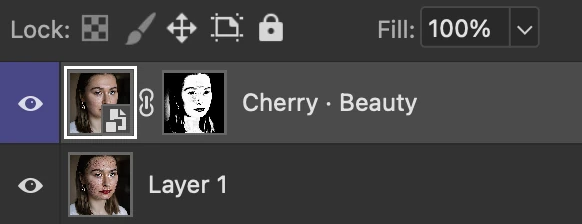
The result lands as its own layer, masked to the skin. The eyes, the lips, the hair and the background stay the original pixels. If it missed a spot, select the mask and paint it with a white brush. Watch (1:53)
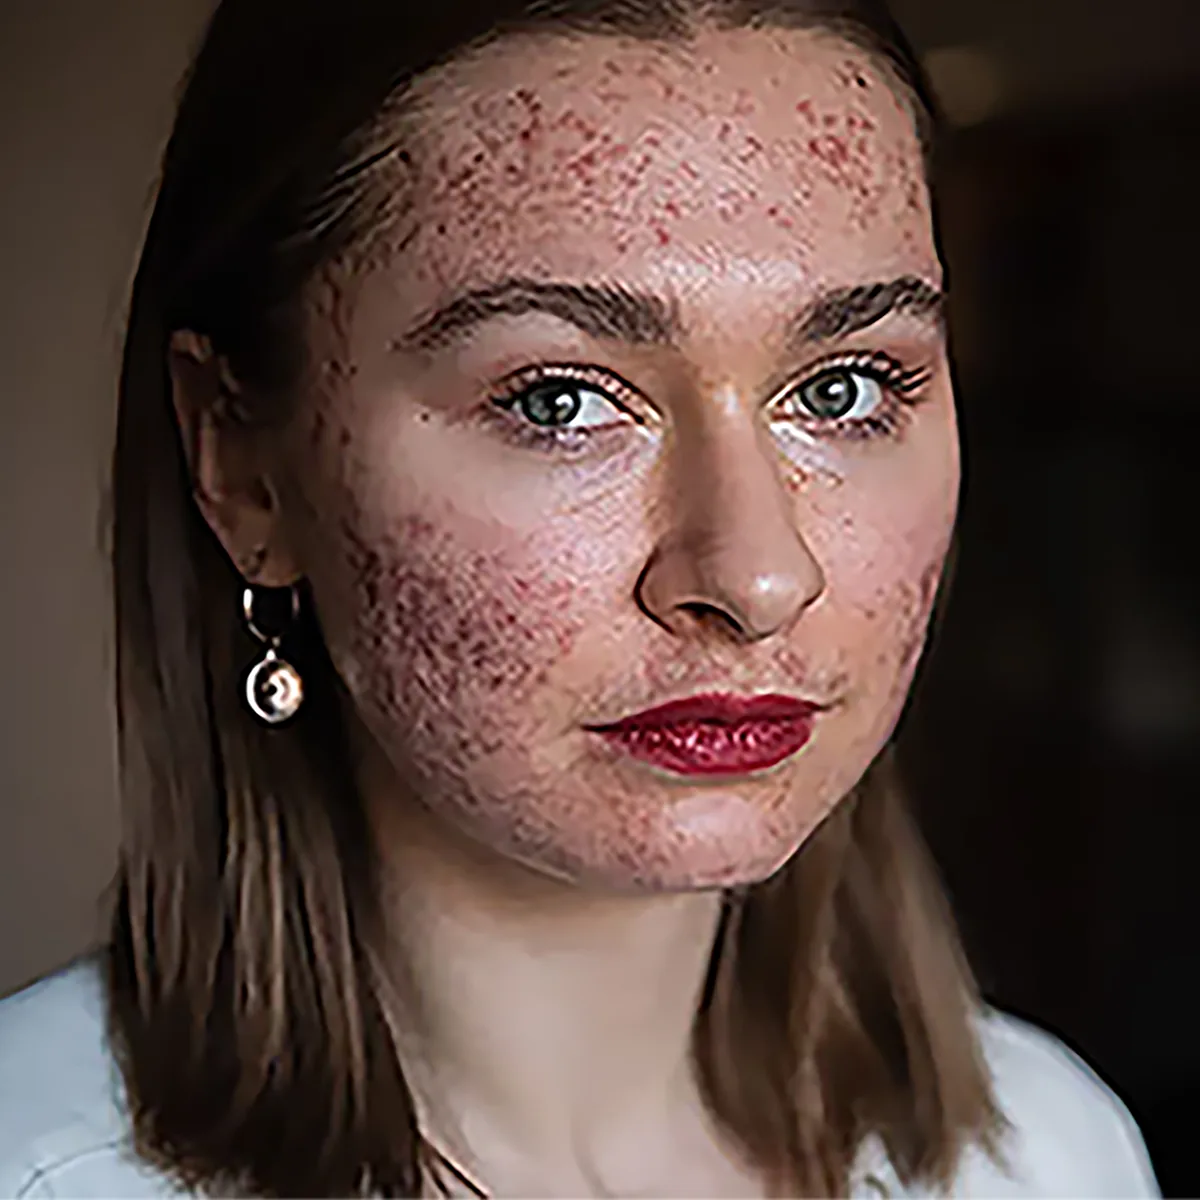
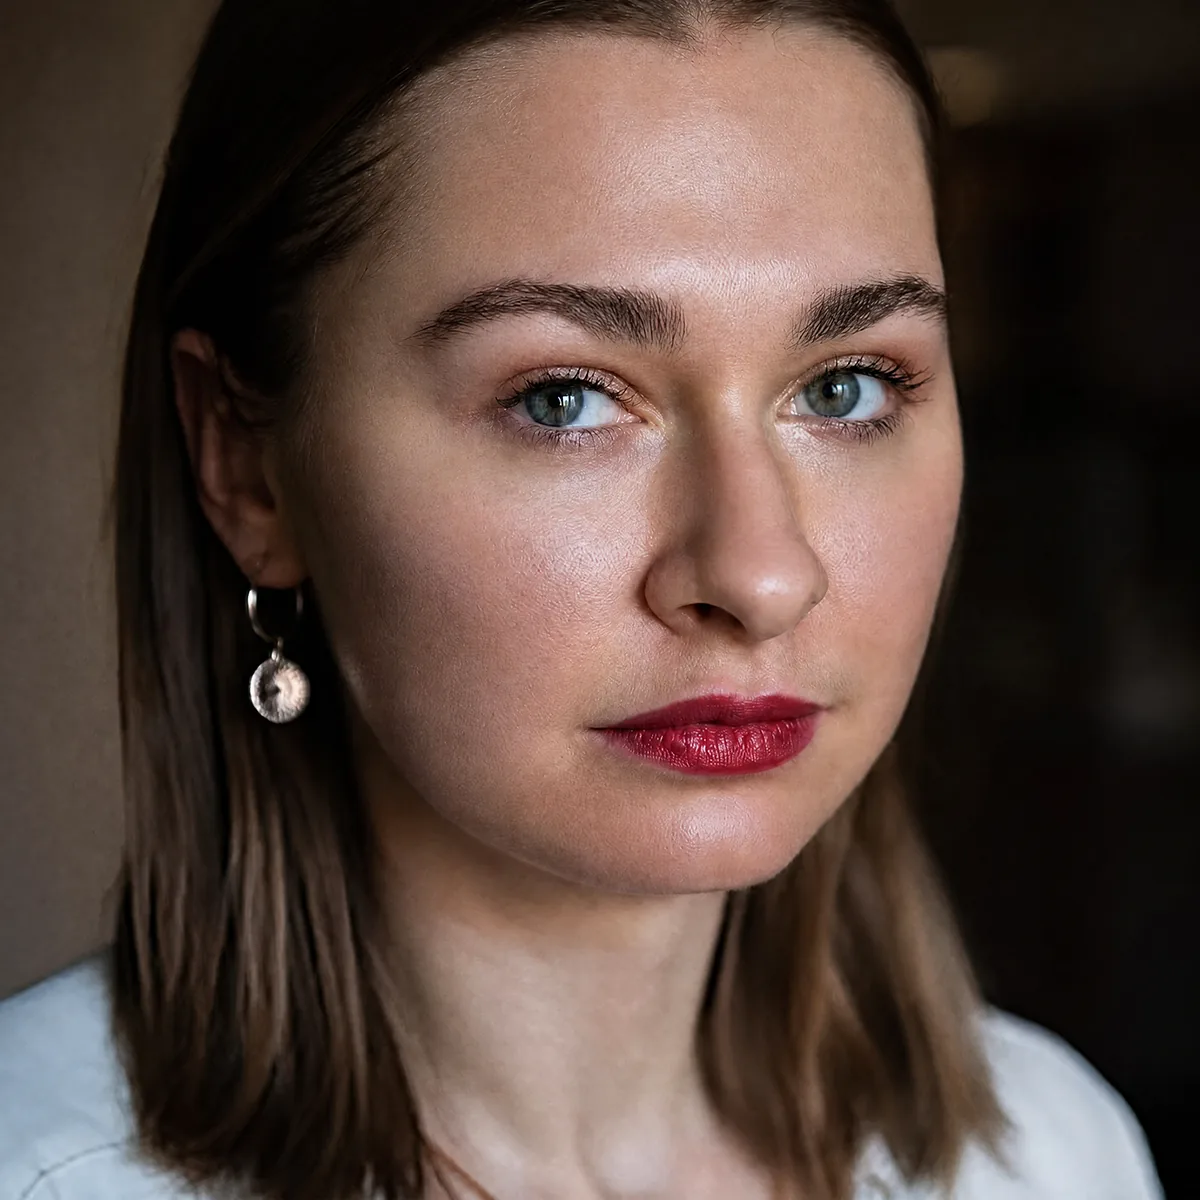 BeforeAfter
Heavy acne and redness, in Beauty. Drag the handle.
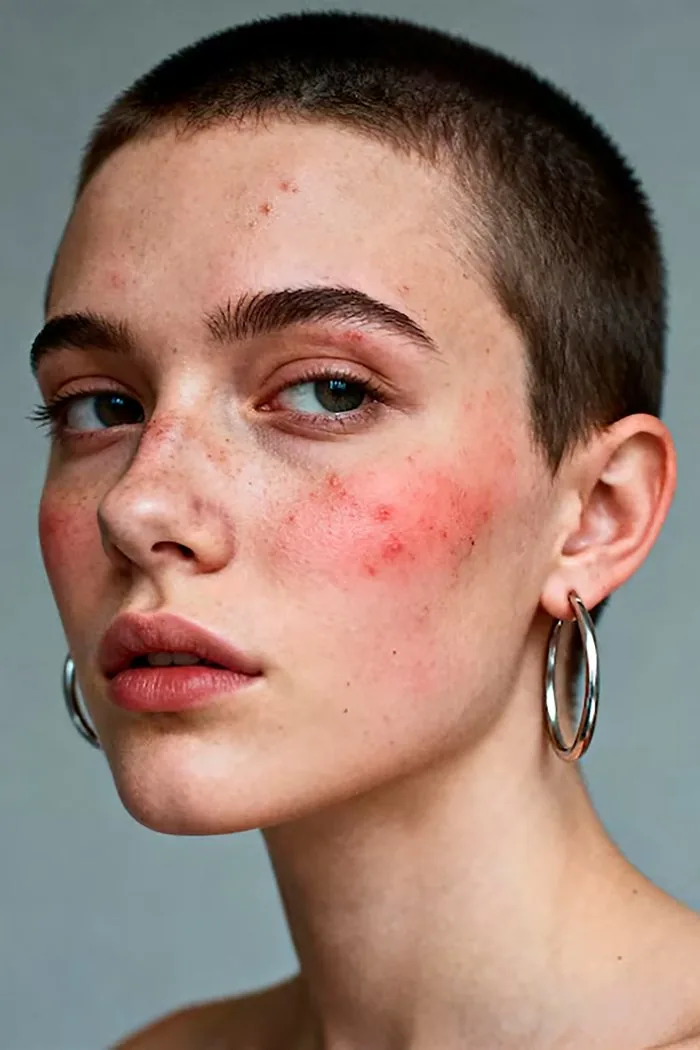
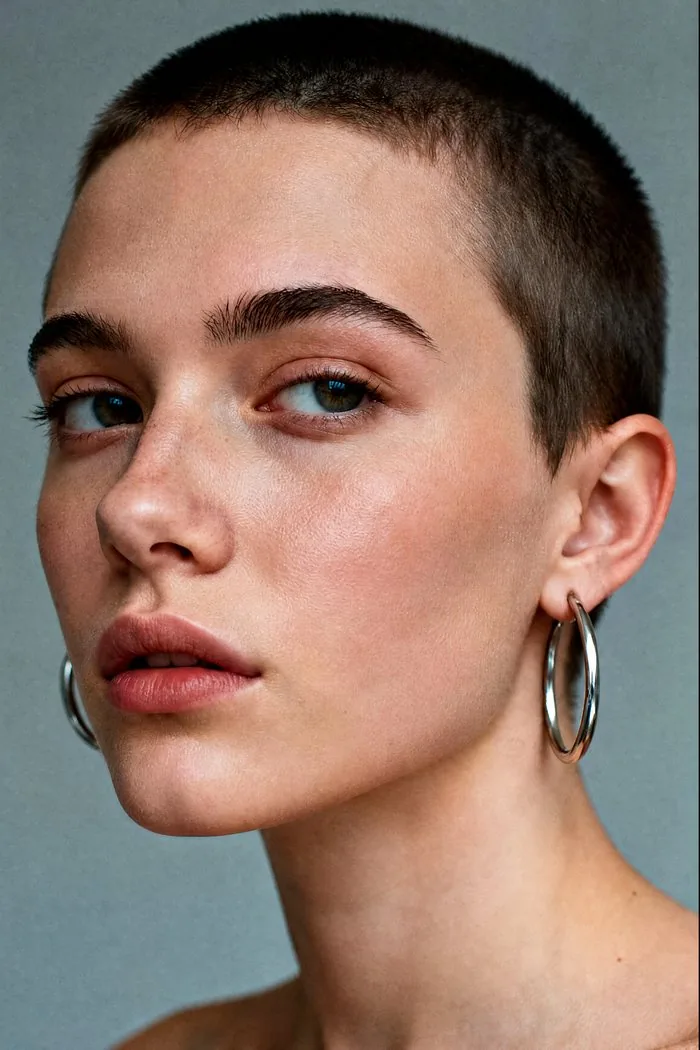 BeforeAfter
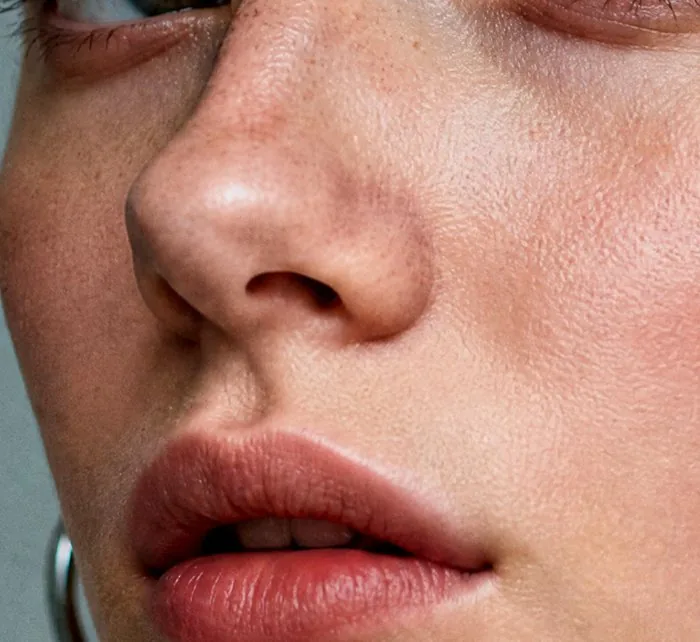
Spots, redness and uneven tone, cleared in Beauty. Drag the handle.
Compare it with Remove Blemishes on the same cheek: Cherry cleared the spots and the redness and evened the tone, and the skin still has its texture.
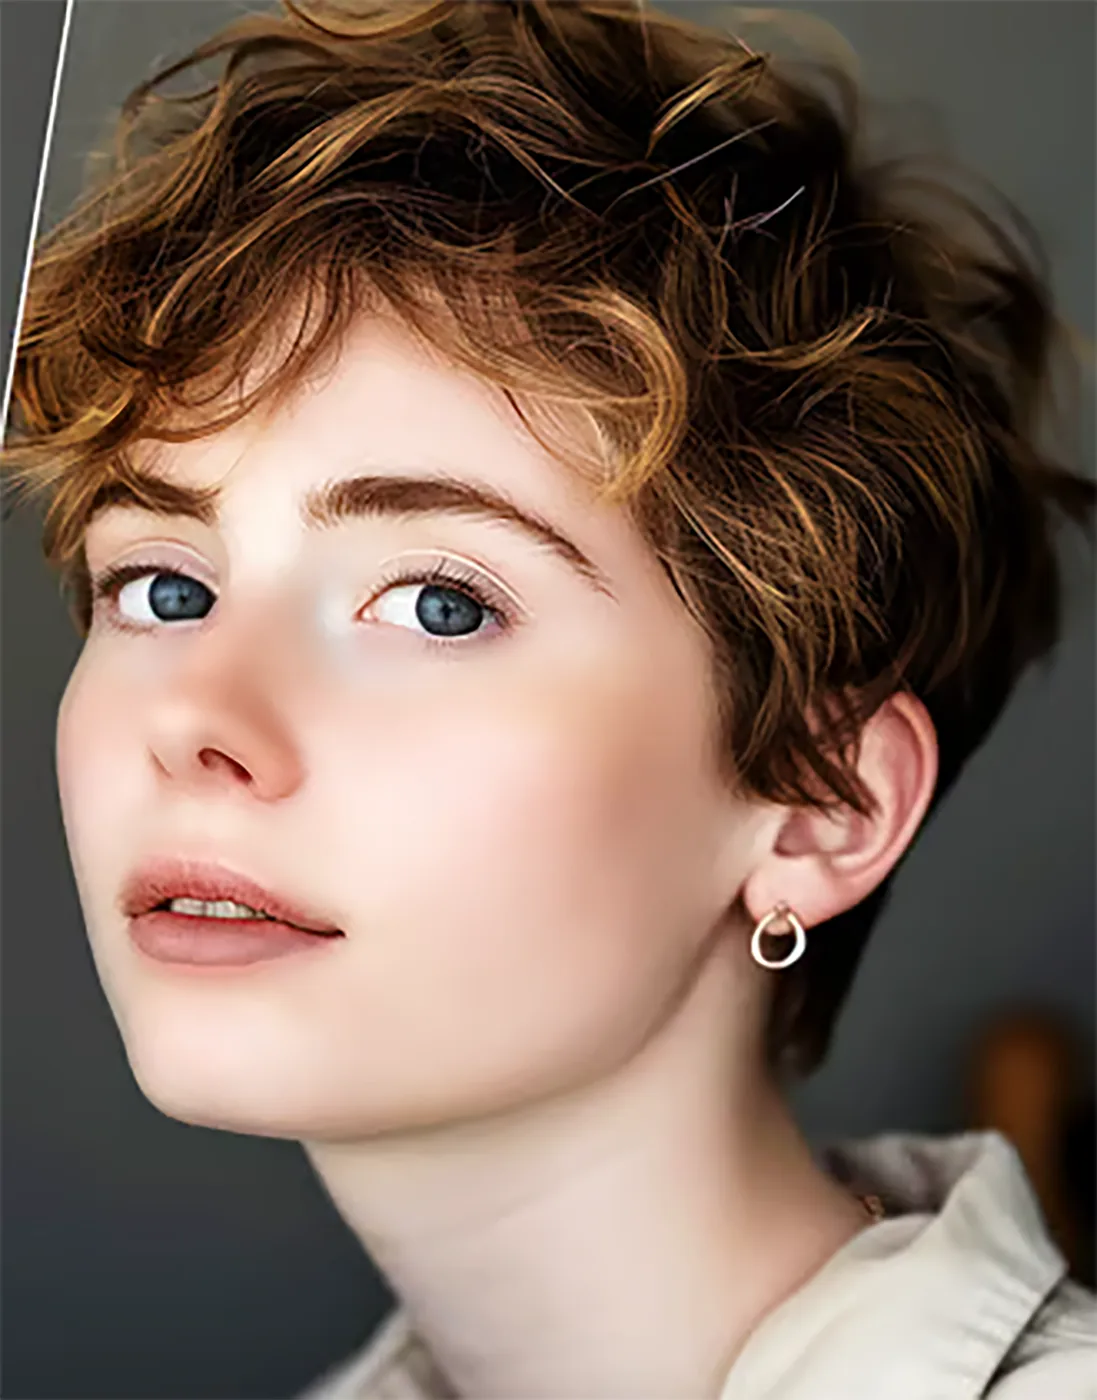
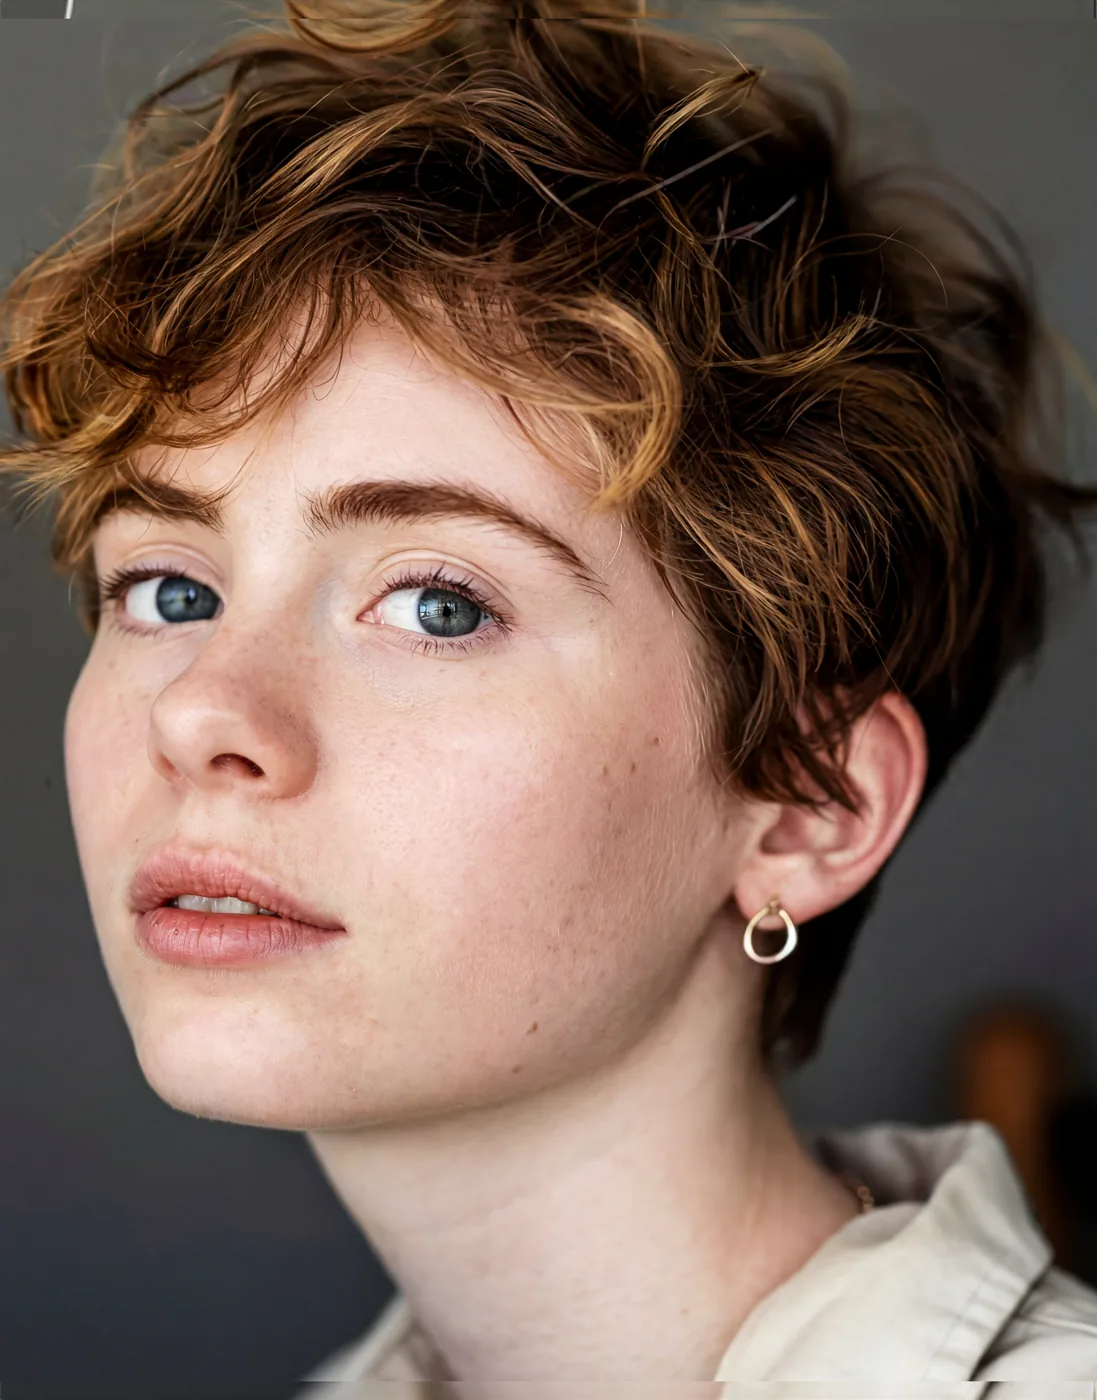 BeforeAfter
The freckles stay. Drag the handle.
What if the photo is too small to have any texture?
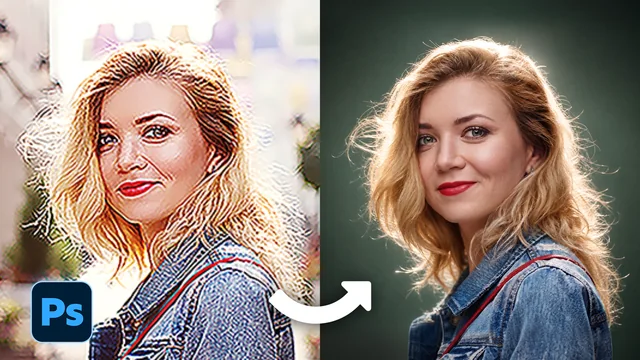
Then there's no texture to keep, and every Photoshop method above has nothing to work with. Cherry draws the skin again at the size you pick, so at 4K a small portrait comes back with real pores. In my tutorial, a 650 pixel portrait came back at 4K; I enlarged the file with Image Size to 4,000 pixels and the new skin held up. Watch (3:30)
The mask then decides what you see. My rule:
- A sharp, high resolution original: keep the mask, so only the skin changes and everything else stays as you shot it.
- A small or soft original: after enlarging it, delete the mask. Cherry's 4K result is sharper everywhere, hair and eyes included, and parts that were out of focus stay out of focus. Watch (6:01)
In one example the hand had no texture at all in the original; in Cherry's result it had skin texture like the face. Watch (7:09)
Which method should you use?
| Method | Speed | Keeps texture? | Fixes redness? | Cost |
|---|---|---|---|---|
| Healing tools | Fast for a few spots | Yes | No | Free |
| Remove Blemishes | Seconds | Yes | No | Free |
| Frequency separation | Slow | Yes, done right | Yes | Free |
| Dodge and burn | Slowest | Yes | Yes, by hand | Free |
| Skin Smoothing | Seconds | Often not | Partly | Free |
| Cherry | 1 to 2 minutes | Yes, and rebuilds it | Yes | 3, 5 or 7 credits |
My own order: Remove Blemishes for a quick clean, frequency separation and dodge and burn when I have time and the photo deserves it, and Cherry when the whole skin needs work or the photo is too small to hold texture. Other AI options exist too: Retouch4me sells a separate plugin for each job, Portraiture is a long-running smoothing plugin, and Evoto is a separate app that charges per exported photo.
Before you start, it's worth reading what's new in Photoshop 2027, and if the portrait is tiny, how to upscale a low res portrait to 4K.
Retouch skin inside Photoshop, from 3 credits
Cherry is on Radbin's Enhance tab, next to 14 other tools and twelve image models. The result lands masked to the skin, and a failed job refunds itself.
Watch Radbin on YouTube
Real tests and tutorials, inside Photoshop and Premiere. See the whole channel.
 21:44Photoshop 2027 new features vs Radbin
 19:57Claude Opus 5.5 edits my video in Premiere Pro
 16:20GPT Image 2.6 in Photoshop: images, vectors and GIFs
 7:37Upscale a low res portrait to 4K in Photoshop
 19:25Relight any photo in Photoshop with AI
 20:03Nano Banana 2.1 vs GPT Image 2 and FLUX 3: ten tests
 14:31Photoshop Relight vs Radbin Lightsmith
 9:28Every Radbin tool in 9 minutes
 9:50Fix the focus of any photo after it was taken
 1:43Radbin changes only what you ask