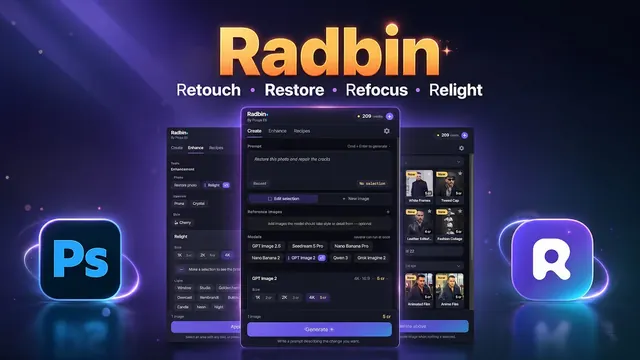
 Radbin
What you need: Photoshop 23.3 or newer on a Mac or a Windows PC, and the Radbin plugin. No Google account and no API key.
Can you use Nano Banana in Photoshop?
Yes, in two ways. Adobe added Google's earlier Nano Banana models to Generative Fill as partner models, paid for with Adobe's generative credits. If you can't find them there, check your version: Adobe first brought them in with Photoshop 27.0.
Nano Banana 2.1 itself came out on 6 October 2026, and Radbin had it the same day, on one panel with FLUX 3, GPT Image 2.5, Seedream 5 Pro and six other models. That is how I use it, and it is what this guide shows.
Step 1: Install Radbin
- Pick a plan on the pricing page. Every plan includes every model.
- Download the plugin and double-click the file. Creative Cloud installs it for you.
- Open it in Photoshop from Plugins → Radbin, and paste the licence key from your email.
The install guide has the details. It takes about two minutes.
Every Radbin plan includes Nano Banana 2.1 and nine other models.
Get RadbinStep 2: Open the Create tab and pick Nano Banana 2.1
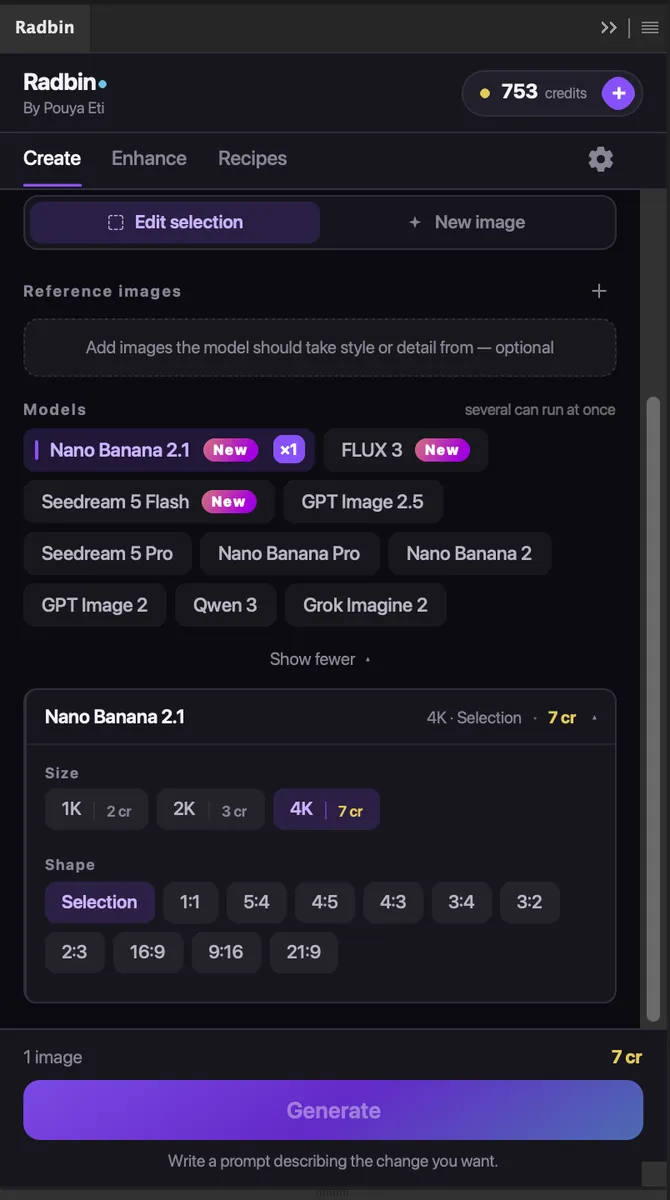
Radbin has three tabs: Create, Enhance and Recipes. Create is the one with the prompt. Under Models, Nano Banana 2.1 is first in the list, with a New badge. Click it to turn it on.
You can turn on more than one model at a time. Each one makes its own result on its own layer, so you can put Nano Banana 2.1 next to FLUX 3 or GPT Image 2 on the same prompt without leaving your document.
Step 3: Edit a selection, or make a new image
At the top of the Create tab you choose between Edit selection and New image.
- Edit selection changes part of your picture. Select an area with any tool, or press Cmd+A (Ctrl+A on Windows) to work on the whole image. The result comes back masked to your selection.
- New image makes a picture from your prompt alone. It can land as a new layer in the current file, or open as a new file.
Step 4: Choose the size and shape
Size sets the resolution and the price: 2 credits at 1K, 3 at 2K and 7 at 4K. I try ideas at 2K and make the one I keep at 4K.
Shape sets the aspect ratio. Selection keeps the shape of your selection. For a new image, pick a ratio: 1:1, 5:4, 4:5, 4:3, 3:4, 3:2, 2:3, 16:9, 9:16 or 21:9.
Step 5: Add reference images (optional)
Reference images show the model what to copy: a product, a logo, a face, a style. Click the plus next to Reference images and choose your files. Radbin sends Nano Banana 2.1 up to 13 of them along with your selection.
Step 6: Write the prompt and generate
Describe what you want and click Generate. Most of my results came back in 10 to 30 seconds. The result lands as a new, named layer above your photo, and one Cmd+Z takes it away.
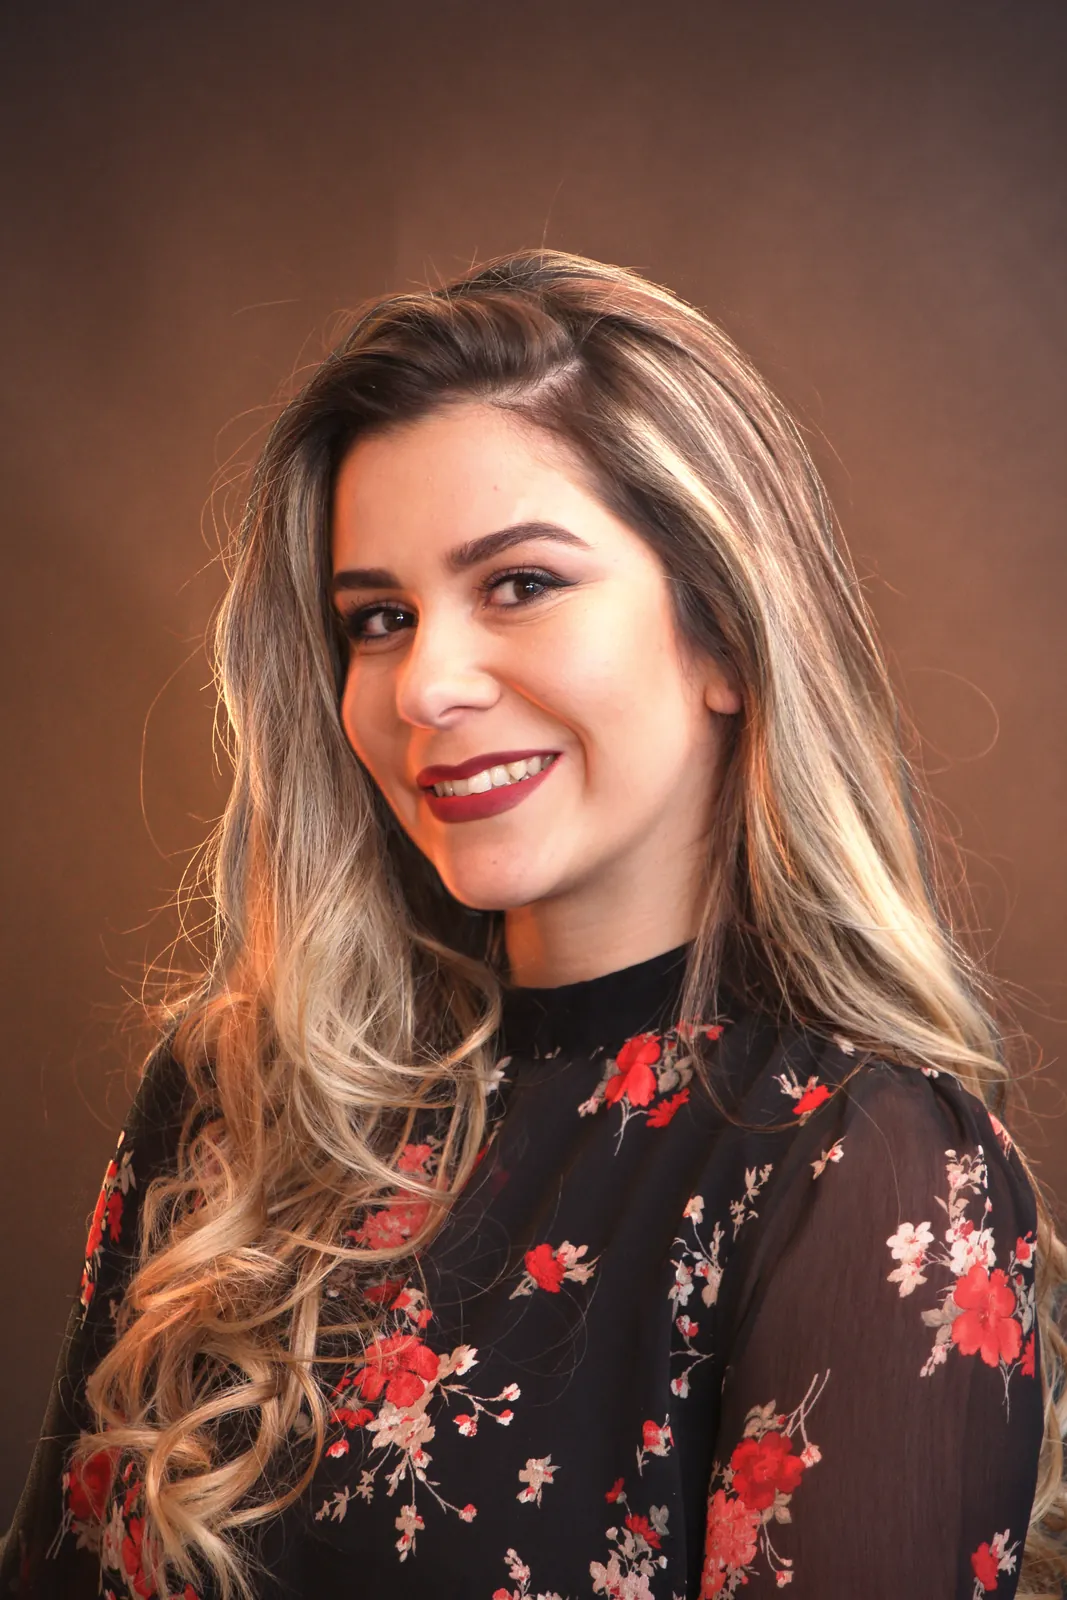

That is an Edit selection run: I asked for a red leather jacket and sunglasses. The clothes are right, but the head turned a little. More on that below.
Tips for better results
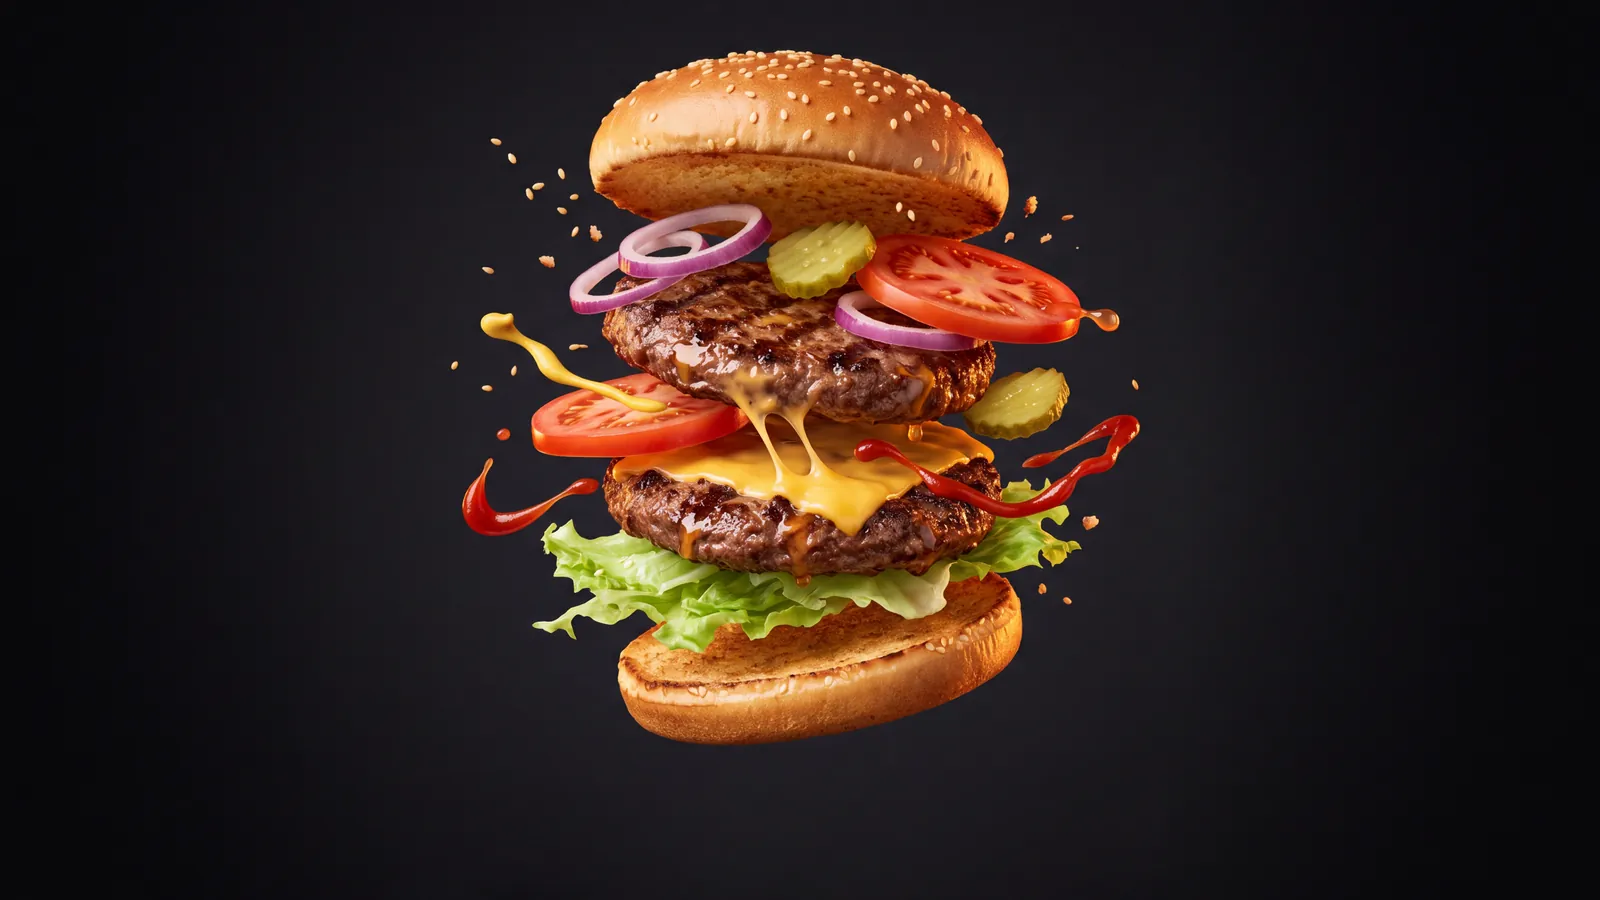
- For a new image, describe the finished picture. Subject, background, light, lens and mood. “A burger” gets you a burger. “A floating burger ad on a dark background, sauce in mid-air, studio rim light” gets you an ad.
- Put the exact words in quotes. Nano Banana 2.1 is good at text, so write the label as it should read, like a can that says “VOLT” and “Wild Lime”.
- For edits, say what must not change. “Keep her face, pose and position exactly the same.” It helps, though it is no guarantee.
- Leave some room. A selection with a little space around the area you want changed usually blends better than a tight one.
- Compare before you settle. Turn on a second model and run the same prompt. It costs a few credits and it is the quickest way to learn which model suits the job.
If something goes wrong
- The result moved my subject. Run it again, or try Nano Banana Pro on the same selection. In my tests, 2.1 tends to shift people slightly when it changes their clothes.
- I can't find Nano Banana in Generative Fill. Adobe's partner models need Photoshop 27.0 or later. Nano Banana 2.1 is in Radbin's Create tab either way.
- A job failed. Its credits come back by themselves. You only pay for results that land.
Want to know which jobs to give it? Read what Nano Banana 2.1 is good for and how it compares with GPT Image 2 and FLUX 3, or watch me do all of this in the video.
Use Nano Banana 2.1 inside Photoshop
It is the first model on Radbin's Create tab, next to FLUX 3, GPT Image 2.5 and seven more. No API key, and every result lands as a layer.
Watch Radbin on YouTube
Real tests and tutorials, all inside Photoshop. See the whole channel.
 20:03Nano Banana 2.1 vs GPT Image 2 and FLUX 3: ten tests
 14:31Photoshop Relight vs Radbin Lightsmith
 10:24Retouch skin without losing the texture
 9:28Every Radbin tool in 9 minutes
 9:50Fix the focus of any photo after it was taken
 1:43Radbin changes only what you ask