 Radbin
The short answer: scan the photo at a high resolution, work on copies, and match the tool to the damage. Dust and fine scratches: Dust & Scratches or the Spot Healing Brush. Cracks and tears: the Clone Stamp and the Patch tool. A missing corner: Content-Aware Fill or Generative Fill. Fading: Auto Tone and Curves. Black and white: the Colorize filter. Or do all of it in one pass with an AI restore, and then check the faces.
Full disclosure: I make Radbin, the plugin with the one-click Restore photo. Every result below is real, with the original under it, so you can judge it yourself.
Restore photo in my tour of Radbin, from 3:21.
What should you do before restoring an old photo?
- Scan it, don't photograph it. Scan at 600 ppi if you can, and keep that scan as a TIFF master you never edit. The US Library of Congress suggests 300 ppi to reprint a small print at the same size, and 400 to 600 if you'll enlarge it.
- Work on copies. Lock the scan's layer and do every repair on new layers above it.
- Straighten and crop first, so you don't repair edges you'll throw away.
Which tool fixes which damage?
| Damage | In Photoshop | In one click |
|---|---|---|
| Dust, specks, fine scratches | Dust & Scratches on a masked copy, Spot Healing Brush | Restore photo: Cracks |
| Cracks, creases, tears | Clone Stamp, Patch, Healing Brush | Restore photo: Cracks |
| A missing corner or piece | Content-Aware Fill, Generative Fill | Generative Fill, or Radbin's Create tab |
| Fading, weak contrast, a colour cast | Auto Tone, Curves, Auto Color | Restore photo: Restore |
| Black and white or sepia | Neural Filters › Colorize | Restore photo: Colorize |
| Too small to print | Super Resolution, Generative Upscale | Upscale |
How do you remove dust and scratches from an old photo?
For specks all over the photo, use the Dust & Scratches filter on a copy, then paint it in only where it's needed:
- Duplicate the scan's layer and choose Filter › Noise › Dust & Scratches.
- Set Threshold to 0 and raise Radius just until the specks vanish. Then raise Threshold until the photo's own grain comes back but the specks stay gone.
- Add a black layer mask (Option-click, or Alt-click, the mask button) and paint white only over the damaged areas, so the rest keeps its detail.
For single scratches, take the Spot Healing Brush on an empty layer, with the type set to Content-Aware and Sample All Layers on, and paint along each scratch.
How do you repair a torn photo or a missing corner?
- A crack across detail, like a face or a collar: the Clone Stamp on an empty layer, sampling Current & Below. Option-click (Alt-click) clean detail nearby, then paint. It's slow, but nothing is invented.
- A tear through plain areas, like a background or a wall: draw around it with the Patch tool and drag it to a clean area.
- A missing corner: select it with a little overlap and choose Edit › Content-Aware Fill. For a large missing piece, use Generative Fill from the Contextual Task Bar. It draws what might have been there, so check that it fits.
How do you fix a faded photo?
Start with Image › Auto Tone, which sets the darkest and the lightest points. Add a Curves adjustment layer for contrast, and remove a yellow or magenta cast with Image › Auto Color or by pulling each channel in Curves. For grain, try Filter › Camera Raw Filter and tick Denoise: in Photoshop 2027 it works on scans and JPEGs too.
How do you colourise a black and white photo in Photoshop?
- Make a merged copy of the repaired photo: Cmd+Option+Shift+E (Ctrl+Alt+Shift+E on Windows).
- Choose Filter › Neural Filters › Colorize and send the result to a new layer.
- Set that layer's blend mode to Color, then correct skin, clothes and sky with Curves or a Hue/Saturation layer and a mask.
The colours are a guess. If you know what colour a dress or a car really was, paint it in on a layer set to Color.
Does Photoshop's Photo Restoration filter still work?
It's still there, under Filter › Neural Filters › Photo Restoration, with sliders for photo enhancement, face enhancement and scratch reduction, and still marked beta. Since late 2025 some users have reported it switching itself off with an error, as this Adobe community thread shows. When it runs, it's a decent first pass on a lightly damaged print.
Can AI restore an old photo in one click?
Yes. Restore photo, in Radbin, takes no prompt. You tick what's wrong with the photo, and it repairs all of it in one pass. Watch (5:09)
- Cracks: tears, scratches and physical damage.
- Restore: faded, noisy or washed-out scans. On at first.
- Colorize: believable colour for black and white.
- Retouch: blemishes, with the skin texture kept.
- Open the scan, and select the photo, or nothing for the whole image.
- In the Radbin panel, open Enhance › Restore photo and tick the fixes it needs.
- Pick the engine, Nano Banana Pro, GPT Image 2 or Seedream 5 Pro, and the size.
- Click Apply. The result lands as a layer above the untouched scan. It costs 2 to 7 credits by engine and size, and the price is on the button.
In my tests Seedream 5 Pro was the most precise: it kept the old photo's feeling, only at high quality. As I said in the tour, "We don't want to change the original image. We just want to keep it as it is but improve it."
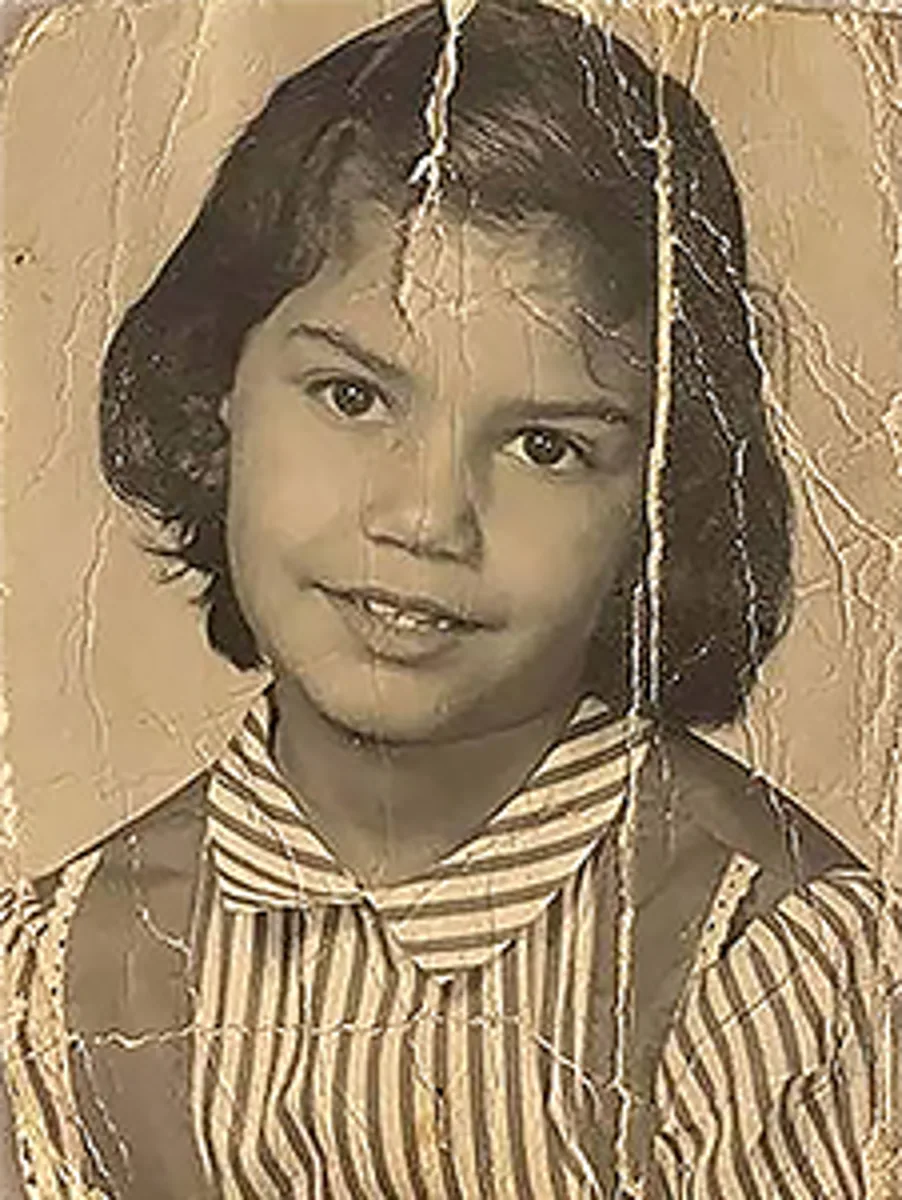
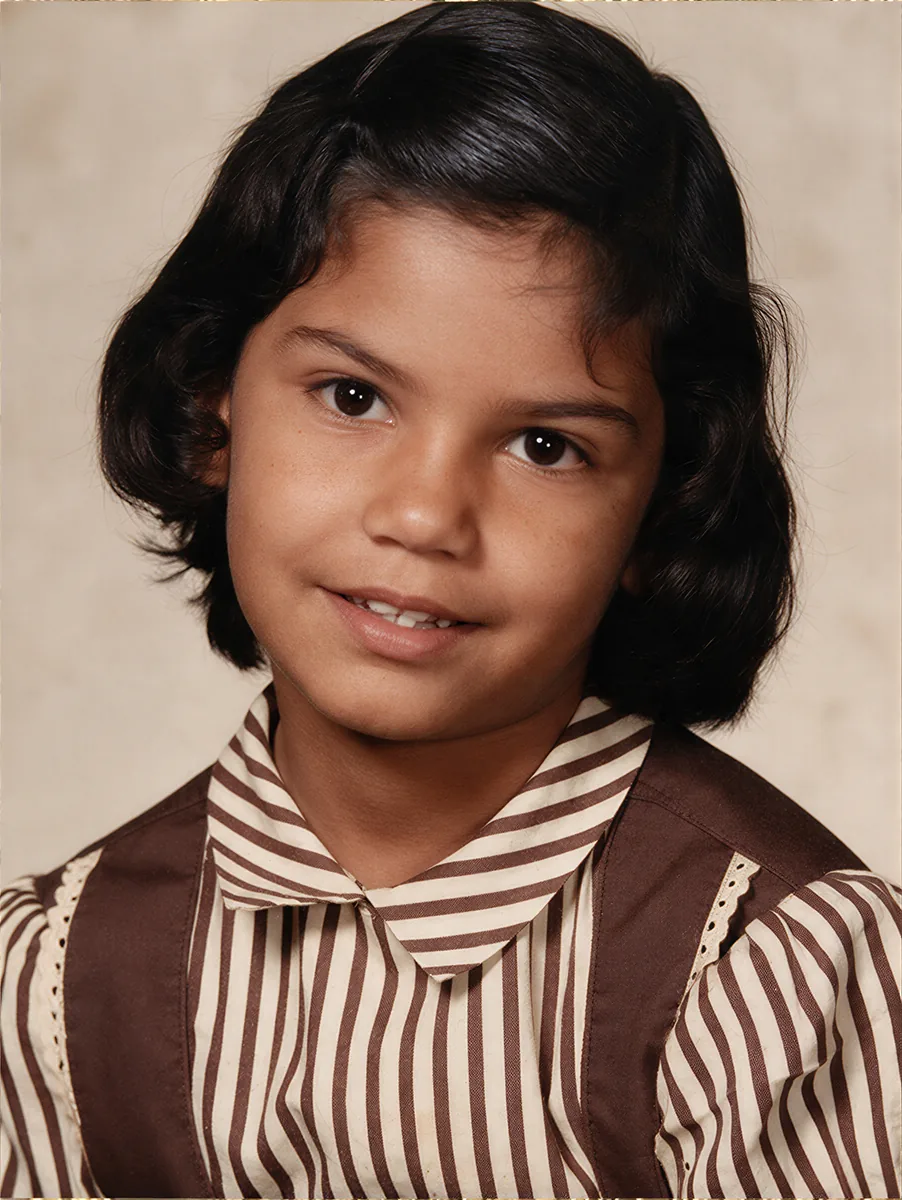 BeforeAfter
Creased and faded, restored to colour. Drag the handle.
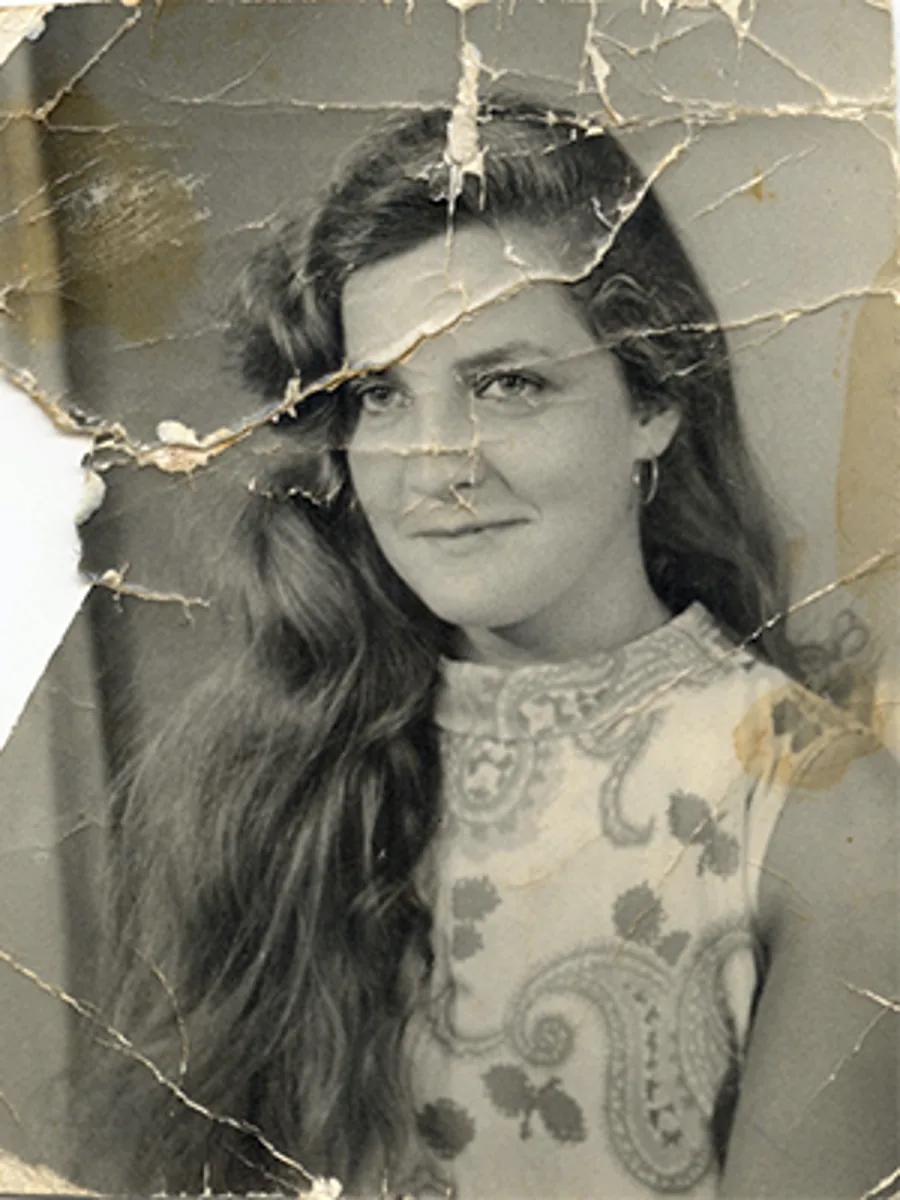
 BeforeAfter
A torn print. Drag the handle.
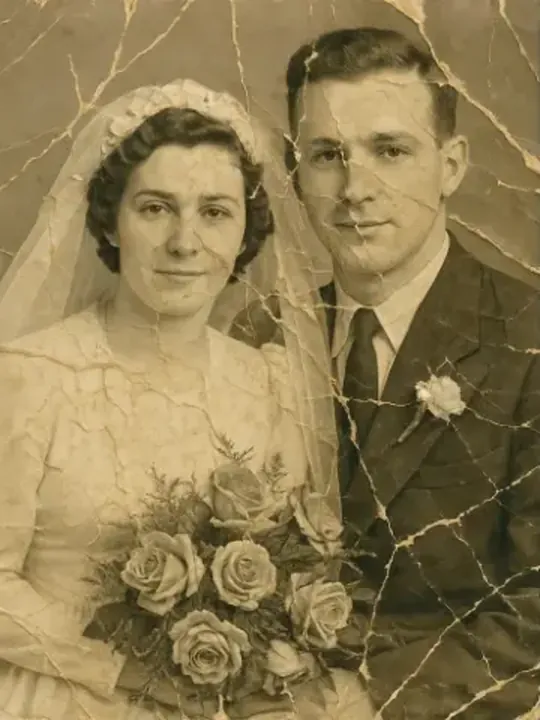
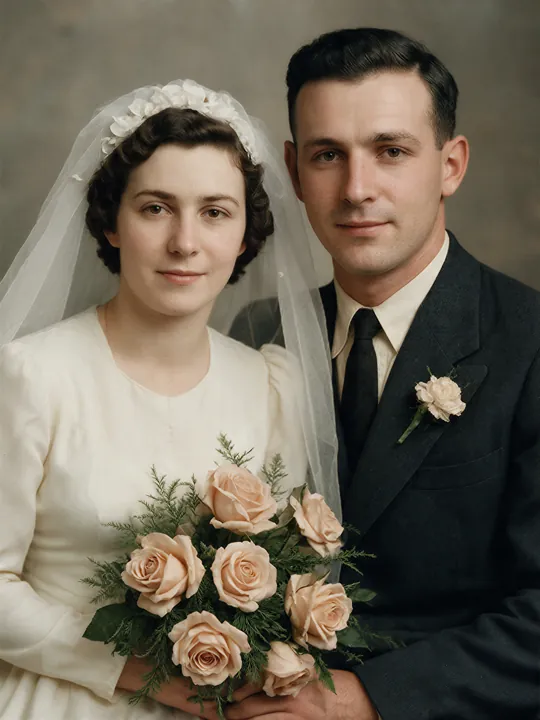
Will AI change the person's face?
It can, and you should know that before you hand a restored photo to a family. The model has to redraw whatever the damage hides, so lips, eyes and hair colour can come back slightly different. In my comparison of three image models, one restored a photo beautifully but changed the person: "Look at the lips". Even MyHeritage says its results may be inaccurate.
- Keep the original under the result, and switch the layer off and on at 100%.
- Where a feature changed, mask the result back to the original.
- Try another engine on that photo. Seedream 5 Pro changed the least in my tests.
How do you print a small scan large?
Restore first, then upscale. Repairs are easier at the scan's own size, and the upscaler then enlarges a clean photo instead of the cracks. For a faithful enlargement use Pruna; to go further, Ultra. Every way, compared: how to upscale an image in Photoshop.
Restore old photos inside Photoshop
Restore photo is on Radbin's Enhance tab, next to 14 other tools and twelve image models. The result lands as a layer over the untouched scan, and a failed job refunds itself.
Watch Radbin on YouTube
Real tests and tutorials, inside Photoshop and Premiere. See the whole channel.
 21:44Photoshop 2027 new features vs Radbin
 19:57Claude Opus 5.5 edits my video in Premiere Pro
 16:20GPT Image 2.6 in Photoshop: images, vectors and GIFs
 7:37Upscale a low res portrait to 4K in Photoshop
 19:25Relight any photo in Photoshop with AI
 20:03Nano Banana 2.1 vs GPT Image 2 and FLUX 3: ten tests
 14:31Photoshop Relight vs Radbin Lightsmith
 10:24Retouch skin without losing the texture
 9:50Fix the focus of any photo after it was taken
 1:43Radbin changes only what you ask