 Radbin
The short answer. If you already use the Photoshop beta and have generative credits to spend, try Relight on a portrait: it is built in. If you want to see the light move while you place it, light the subject and the backdrop separately, relight buildings and rooms, or edit each light afterwards, Lightsmith does more. It works in regular Photoshop, and a result costs 2 credits.
Side by side
| Photoshop Relight | Lightsmith | |
|---|---|---|
| Where it runs | The Photoshop beta only | Regular Photoshop 2025 (26.0) or newer, with the Radbin plugin |
| How you start | Layer → New Relight Layer | Enhance tab → Lightsmith → Open the studio |
| While you adjust | A low-resolution preview. In my test, each change took 6 to 10 seconds to show | Live: the lights move as you drag them |
| Kinds of light | One kind, which you can add more of | Six: soft light, spot, sun, rim, backdrop and glow |
| Shaping the light | Intensity and Diffusion sliders | Eight modifiers, from bare bulb and beauty dish to grid and snoot, plus softness |
| What a light falls on | The image as a whole | All, the subject only, or the backdrop only |
| Where to start | An empty Relight layer | Setups for portraits, products, rooms and buildings, and your own saved ones |
| What you get back | One Relight layer | One layer, or one layer per light in a folder |
| What it costs | Previews are free. Each click on Done costs 30 generative credits | Trying is free. A result costs 2 Radbin credits |
| How the light is made | Generative AI takes out the old light and draws new light | Computed from the photo's depth and surfaces. Your pixels stay |
Relight's details are from my own test in the current beta and from Fstoppers' review (4 October 2026). The beta changes often, so check your version.
Photoshop Relight: what it does well, and where it struggles
You open it from Layer → New Relight Layer in the beta. You get a light you can drag on the photo, a colour from 1,000 K to 9,000 K or a custom one, intensity, diffusion, a close or far setting, and an Original lighting slider that takes the photo's own light out.
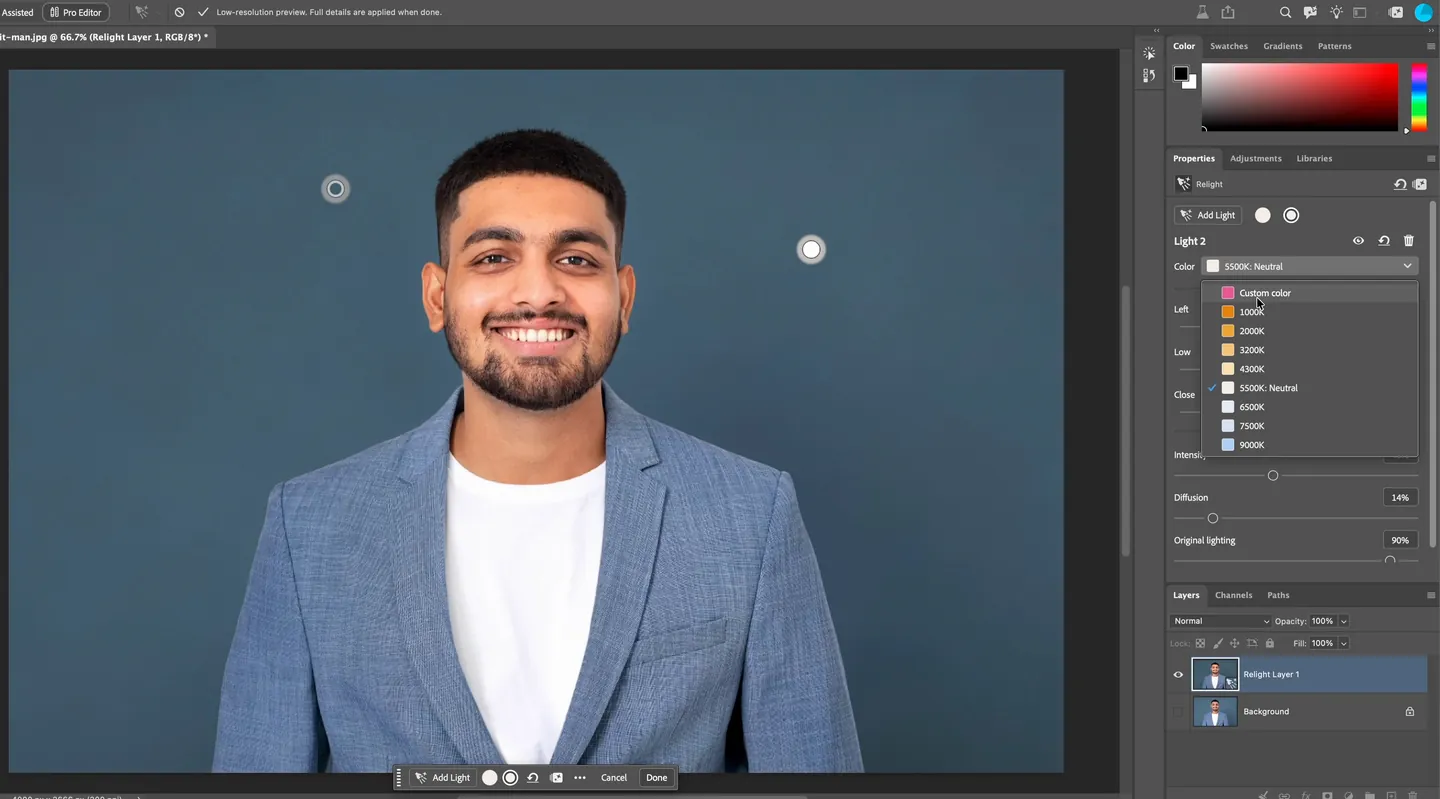
What it does well:
- It is built in. No plugin, nothing to install, if you are already on the beta.
- It can take the old light out. Generative AI removes the photo's original lighting and draws new light, which can look natural on a portrait with a clear subject.
- Previews are free. You can try ideas before you spend anything.
Where it struggles, from my test and Fstoppers' review:
- Beta only. Not in the Photoshop you use for client work, for now.
- A wait after every change. In my test, 6 to 10 seconds each time I moved a light or changed a setting, and the final render can look different from the preview.
- One kind of light, on the whole image. I found no way to light only the backdrop.
- 30 generative credits per Done. Change a light and click Done again, and it costs another 30.
- Softer detail. Fstoppers found fine hair and texture softer than in the original, and outdoor scenes lit more like a flashlight than like sunlight.
Lightsmith: what it does differently
Lightsmith reads your photo once, which takes 10 to 30 seconds: its depth, which way each surface faces, where the subject ends, and what is in it. Then it computes the light on your own computer, so the lights move live and the parts of the photo they don't touch stay exactly as shot.
- Live lights. Drag a light and see it fall, with no loading.
- Six kinds of light, eight modifiers. Soft light, spot, sun, rim, backdrop and glow, shaped with a softbox, umbrella, beauty dish, grid, snoot and more.
- Subject, backdrop or both. Every light can light only the person, only the wall, or everything.
- It knows the scene. A portrait gets 25 setups; a building gets Golden hour, Night and Moonlight. On a villa, a light aimed at the wall showed up in the pool's reflection, and a Glow light lit only the water.
- One layer per light. Mask a halo or recolour one light after you apply, without touching the others.
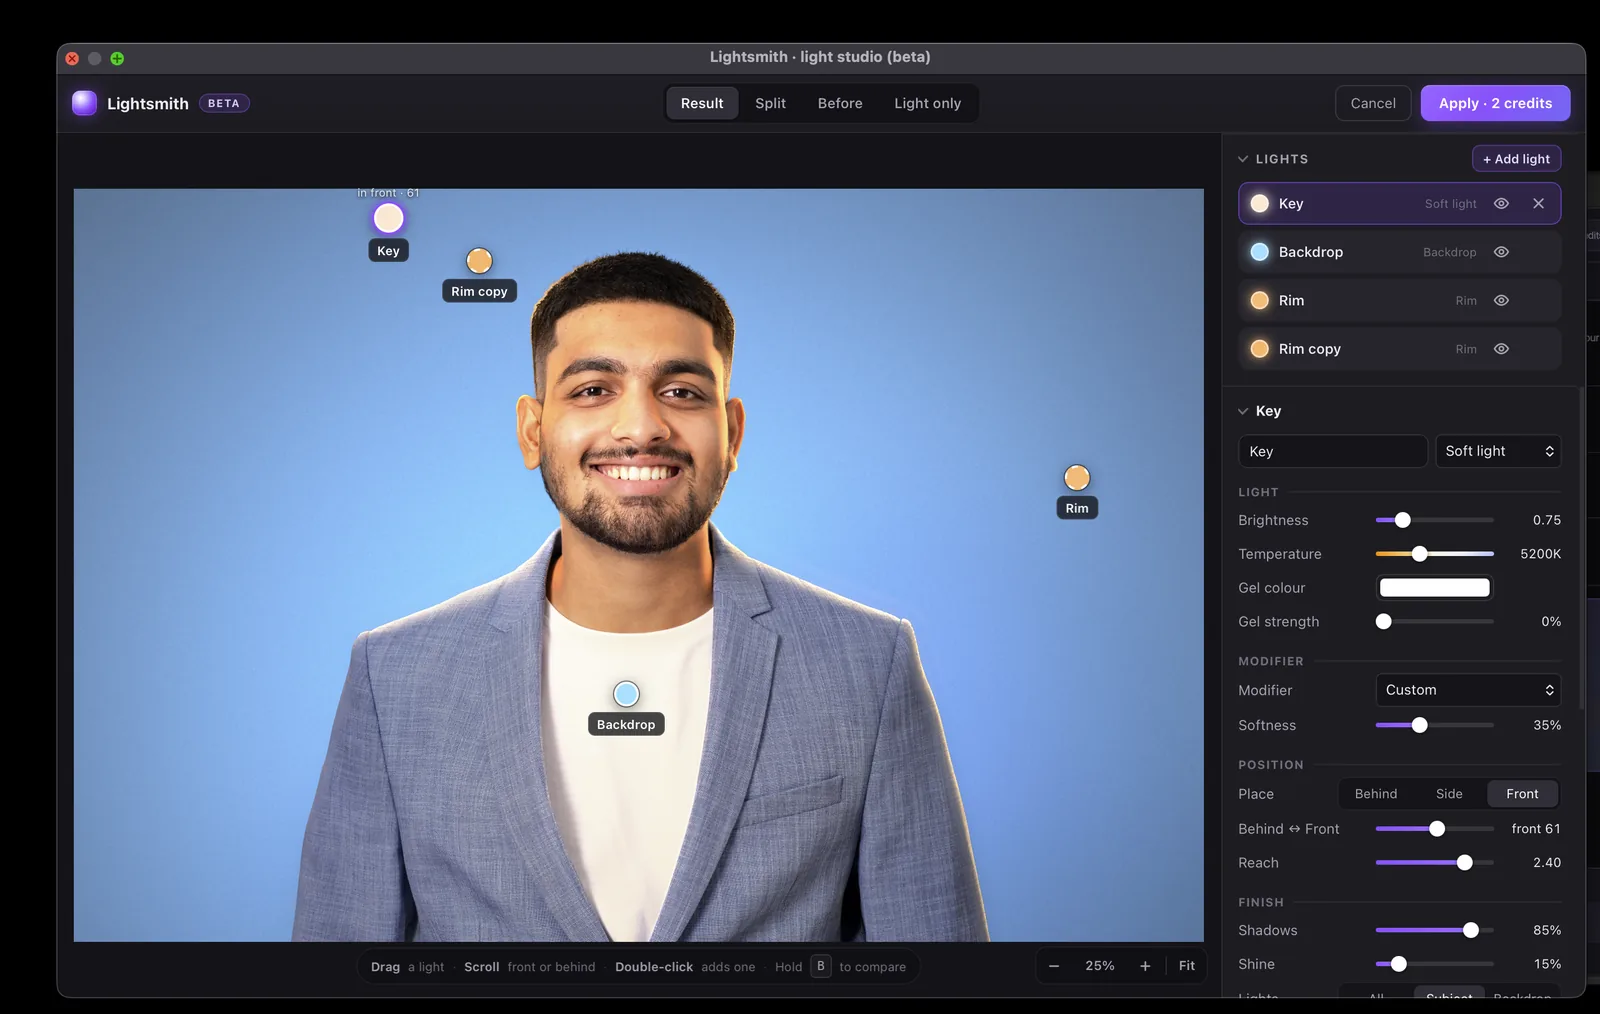
The same kind of portrait, in Lightsmith
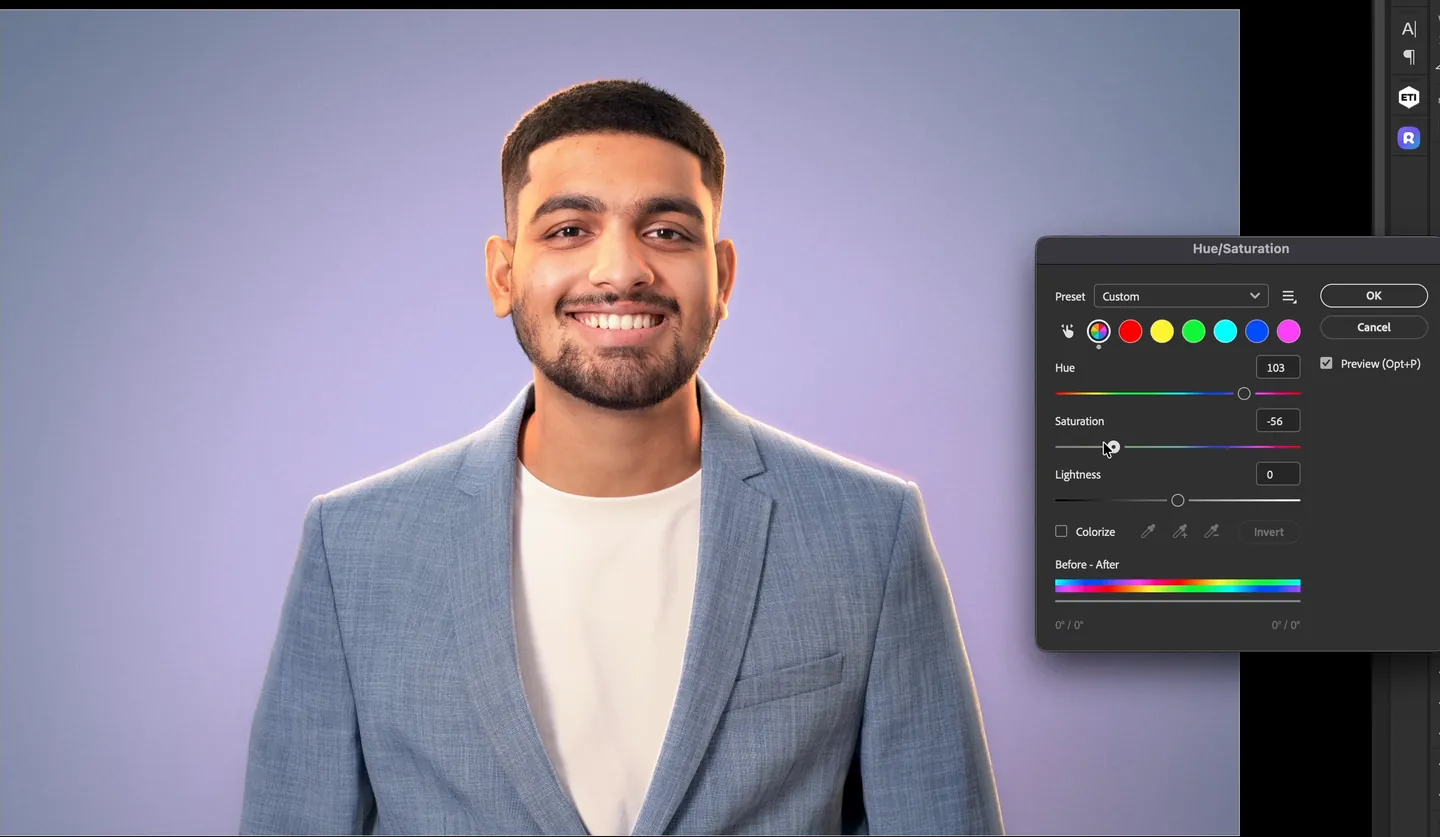
In my new tutorial I start with Relight in the beta, then build a full setup in Lightsmith: a key light on the subject only, two warm rim lights with one lifted for the hair, and a backdrop light. After applying it one layer per light, I masked out a halo on the rim layers and recoloured the wall. The video starts at the Relight part.

I also put the two side by side on the same photo in an earlier video: Photoshop Relight vs Radbin Lightsmith: I tested both.
Try Lightsmith in regular Photoshop: free to try, 2 credits per result.
Get RadbinWhich one should you use?
- You are on the Photoshop beta, have generative credits, and light a portrait now and then: try Relight first. It is right there.
- You want to see the light while you place it: Lightsmith.
- You light buildings, rooms or products: Lightsmith, with setups for each and lights that reflect in water.
- You need to change one light later, or mask a halo: Lightsmith, with one layer per light.
- You work in regular Photoshop: Lightsmith, since Relight is beta only for now.
My verdict
Relight is a good start from Adobe, and generative relighting will keep getting better. For everyday work today, I want lights I can see, place and edit, in the Photoshop I already use. That is why I built Lightsmith. If you try both, I would like to know which one you kept: tell me in the YouTube comments.
Ready to try it? Follow the step-by-step tutorial, or read the Lightsmith guide.
Relight your own photos inside Photoshop
Lightsmith is on Radbin's Enhance tab, next to 13 other tools and eleven image models. Trying lights is free, and a result costs 2 credits.
Watch Radbin on YouTube
Real tests and tutorials, all inside Photoshop. See the whole channel.
 20:03Nano Banana 2.1 vs GPT Image 2 and FLUX 3: ten tests
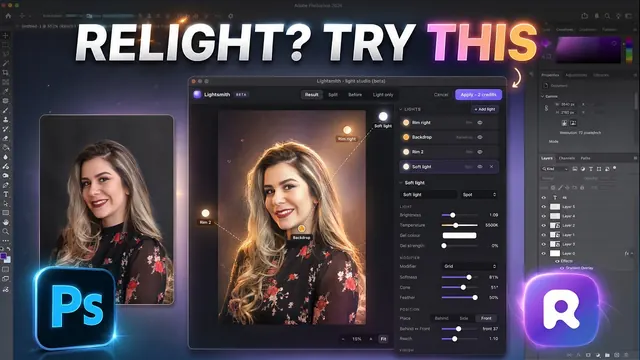 14:31Photoshop Relight vs Radbin Lightsmith
 10:24Retouch skin without losing the texture
 9:28Every Radbin tool in 9 minutes
 9:50Fix the focus of any photo after it was taken
 1:43Radbin changes only what you ask